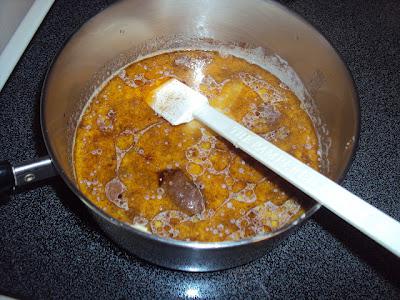
 What you will need for this recipe is:(For the maple bars)~1 1/2 cup of flour~1/3 cup of shortening~4 Tablespoons of granulated sugar~2 teaspoons of salt~2 teaspoons of cinnamon~1/4 cup of lukewarm water~2 (1/4 ounce) quick dry yeast/quick rise/instant rise/instant dry yeast~2 large eggs, beaten~4 3/4 cups flour(For the icing)~1/3 cup butter~1 cup packed brown sugar~1/4 cup milk~1 1/2 cups powdered sugar~2 teaspoons of mapleineNow, to start the dough off, you need a medium sauce pan to scald (heat) the milk. Then add the shortening; ONLY 3 TABLESPOONS of granulated sugar. You will use the fourth tablespoon later. Add in the salt and cinnamon then stir all of it to combine.
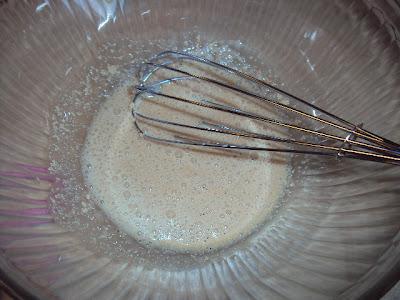
  One all combined, set aside until the milk mixture is lukewarm. While you are waiting for the milk mixture to cool, start on the yeast mixture. Pour the lukewarm water in a medium mixing bowl. The water can't be too hot, or it will kill the yeast. Next, pour the yeast into the bowl and the last tablespoon of the 4 tablespoons of granulated sugar in with the yeast. Whisk until it is kind of foamy and let sit for about 3 to 5 minutes. While you are waiting for the yeast get foamy, grab the eggs and beat them, scramble them like you were to make scrambled eggs but without the extras of course. Once the yeast is foamy, pour the beaten eggs into the yeast mixture and combine.
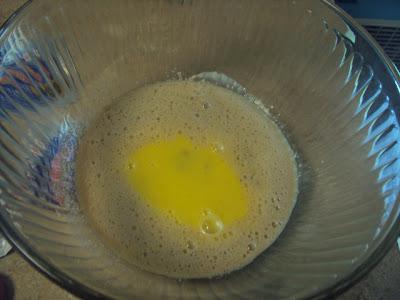 Next, once the yeast and eggs are combined, add in the milk mixture. Make sure it is lukewarm and not hot. Mine was still a little too hot, so I let it sit for just a little bit. I poured it in once it was the temperature I wanted it and stirred the milk mixture and the yeast mixture together with a spatula.
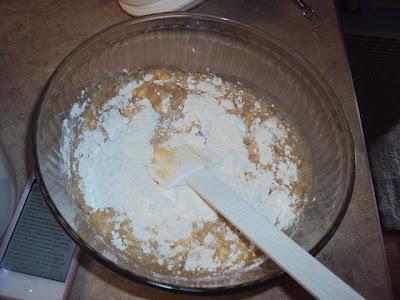
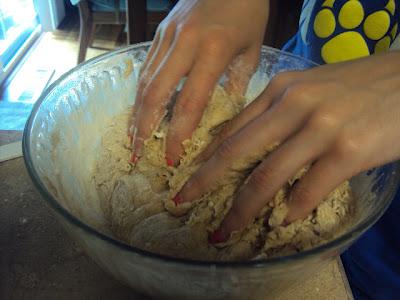
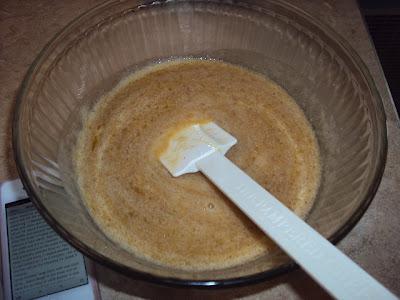 Next, you gradually stir in the flour. What I did was I poured in a cup and mixed it. I poured in another cup and mixed it in. I kept doing that until I reached my flour quota, the amount it says and I had to actually knead it because it got to be a little tough. I also had to add a little bit of flour, like another cup of flour at different times of the kneading. I would knead the dough and it would be so sticky, I had Brittney pour in some more flour for me. It helped a lot. Your hands get pretty sticky.
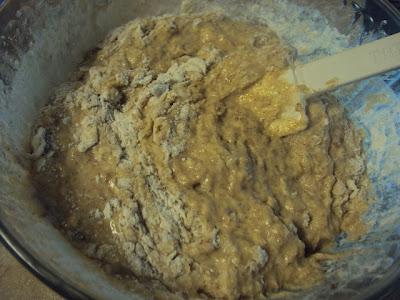
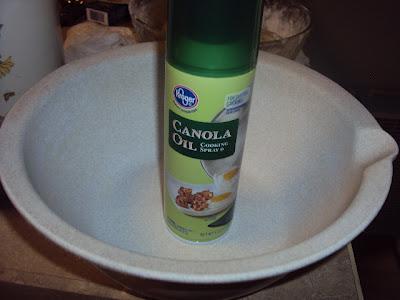
 After I got the dough to consistency I wanted it to be, I took another bowl, a larger one and I coated the inside of the bowl with spray-no stick oil. I took the dough out and placed it in the larger bowl. You are going to let it rise for an hour. I put a towel over the bowl and set it on top of the fridge. It's warm above my fridge, and yeast works best in warm spots. Like... not too hot of places, but it like activates. I don't know, I have heard it somewhere.
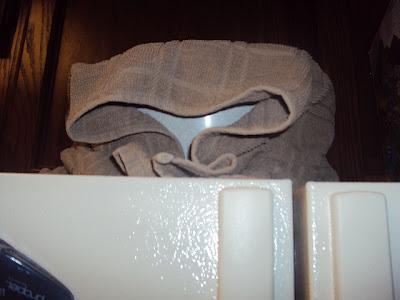
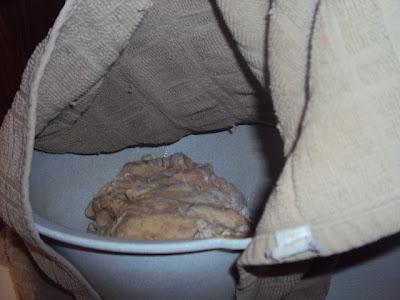 So, you let it sit for an hour. I cleaned up the kitchen and ate lunch in that hour. That hour is a good time to prep for the next part of making the doughnuts. It's good to start out with a clean surface so you don't have more to clean up when you are all done with the whole project. After the hour, I took it from on top of the fridge and uncovered it. It had doubled in size! The dough was huge!
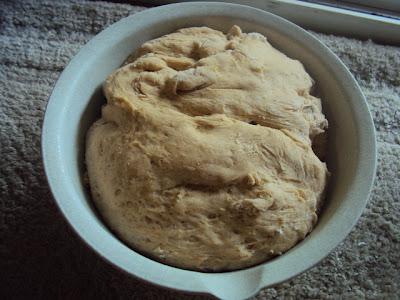 I took it out, it was so airy and fluffy! It felt really cool. I took a cookie sheet and sprayed it with the spray oil, just to make sure the dough didn't stick to the pan. I put the dough on the pan and rolled it out into an inch thick rectangle/square type shape.
 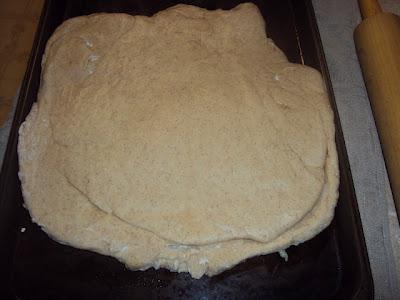 I then cut into 10 pieces. I was hoping to get a dozen out of it, and I could have, but I cut some pieces so big that I didn't have enough dough for a whole dozen. 10 doughnuts is plenty! I spread them out on the pan and made sure there was some space between the doughnuts because they do expand when they bake. They don't expand much, but they do expand some.
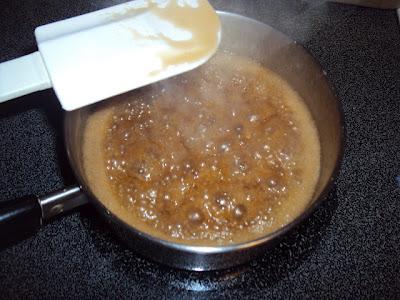
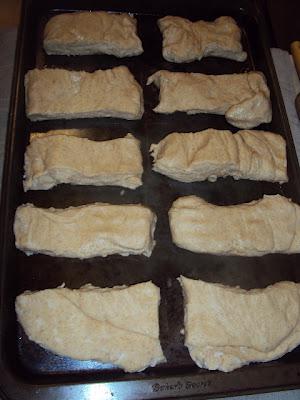 Next, preheat the oven to 425 degrees. Don't put the doughnuts in yet! Put a towel over the pan, and let them rise for another 20 minutes. While they are rising again, you can start on the glaze. Get a small sauce pan and you will be putting in butter, milk, and the brown sugar in the sauce pan.
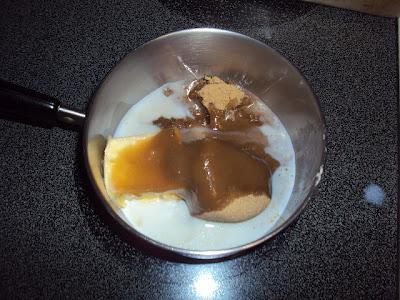 Make sure the sugar is mixed in and the butter is all melted. Now, let it come to a boil on medium heat. Let it simmer for 3 minutes then take it off the heat, set it aside, and let it cool down for 15 minutes.
 When the 20 minutes are up for the doughnuts to be done rising, put them in the oven for 7 to 8 minutes until golden brown. What I did was I accidentally put them in the oven for 14 minutes. I had 20 minutes on my mind, because that is how many minutes it said to rise. I had 20 minutes on my mind. So when they had 6 minutes left, I realized that they were only supposed to be in the oven for 7 to 8 minutes. I freaked out and took them out. They were a little on the brown side and not too golden. They weren't burnt though. I was happy about that! I pressed them to make sure they weren't rock hard on top, or anywhere on the doughnut and they were still soft and squishy, not too squishy though. They seemed to be fine, just the color on top was a little bit concerning...So remember, readers, if you make these maple bars, bake them for only 7 minutes!!! 7 to 8 minutes!!!
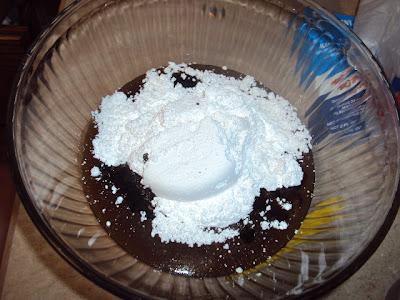
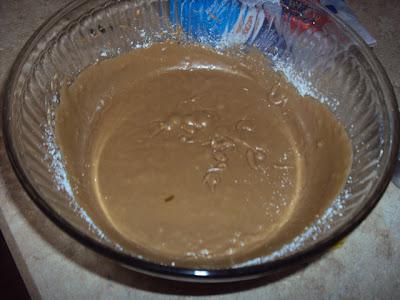
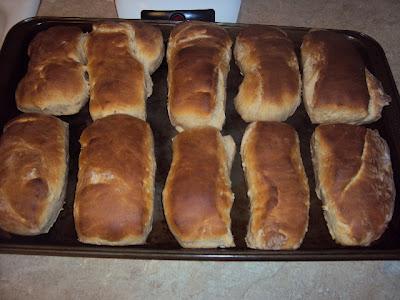 They still worked out, but next time I make these, I am baking them for only 7 minutes. Now to finish the glaze. Once the brown sugar mixture is cooled, pour it into a medium mixing bowl. Pour in the powdered sugar and the mapleine and then combine with an electric hand mixer. You may need just a little bit more powdered sugar, but I never needed the little extra powder sugar. I am just saying you might need it.
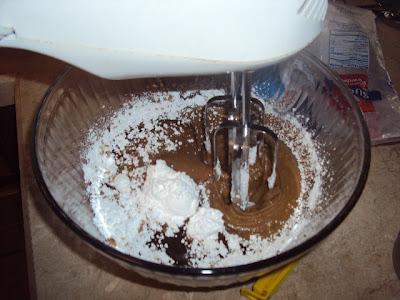 It turned out like real maple icing you buy on doughnuts at the store! I was so proud of myself!
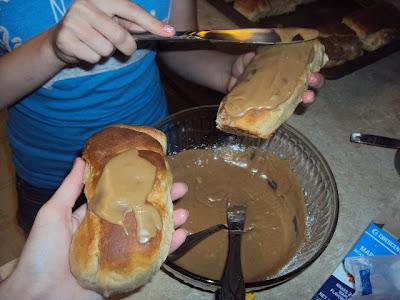
 Make sure the doughnuts are cooled off (and the oven is turned off) before you start icing themThere is no special way to ice them. Just take a butter knife and spread the maple icing on the doughnut. Brittney helped me with this part.God bless her.
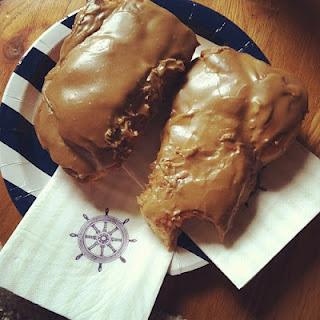
 They turned out being SUPER delicious. They weren't dry at all! My mom ate one and after she ate it, I told her I baked them double what they were supposed to be, and her eyes went wide and then she said, "REALLY? They didn't taste over done at all! They tasted awesome!" I was happy about that.Of course I took pictures of my work, but with these being so big, and just frosted, I couldn't really stack them. The pictures are still nice, but not like I usually do.
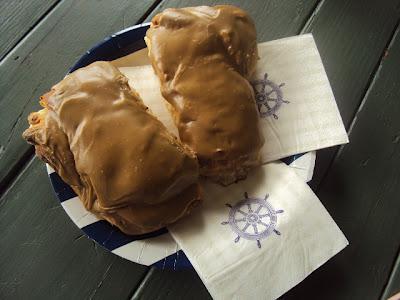
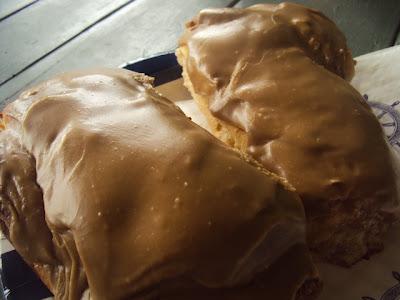
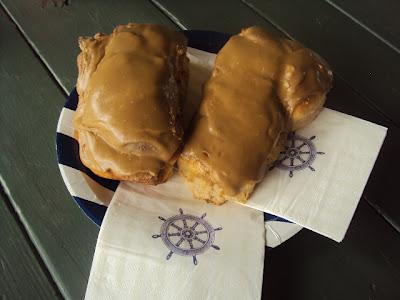
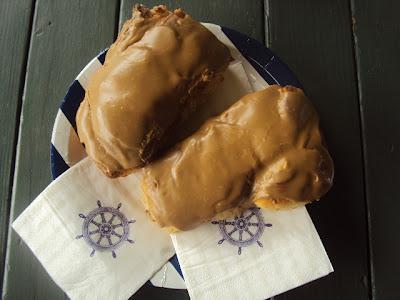 I got curious to how they tasted myself.... so during pictures I took a bite. tee hee.
 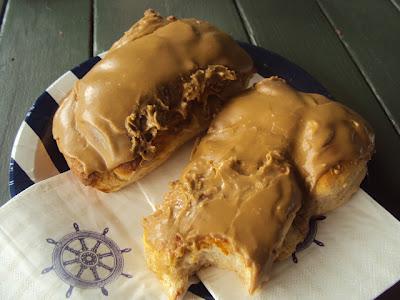 The whole process probably took me 2 hours. It took me quite a while to get it all done. There was so much waiting time, but it was all worth it! The doughnuts taste so good. They are probably even healthier than the deep fried doughnuts because they are baked. They are so good and even though are little over done, you can't even taste it! So, if you over bake them just a little bit, it won't hurt them at all! I'm so glad I did this today! I had a lot of fun making them. I listened to music and jammed out in the kitchen while I was baking. It was a great baking experience. Complicated baking, oh yes! But it can be done!

