It's one of the easiest and coolest manicures ( ranking after this one, from last October ) I have done so far after a long time.
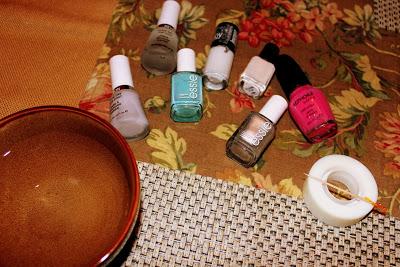
To begin with, apply a layer of quick dry base coat.
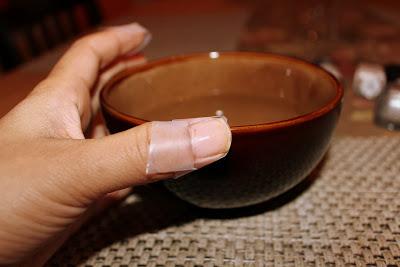
Next step- cut thin strips of scotch tape and frame it around the nails. I taped just a couple of fingers, to show exactly what is expected. I skipped the rest coz of lack of patience.
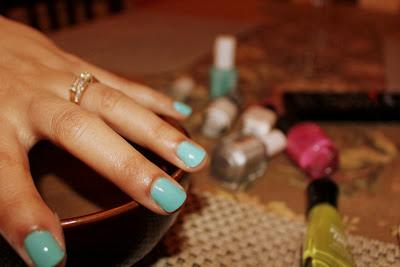
Thereafter I applied Essie my chauffeur as the base coat.
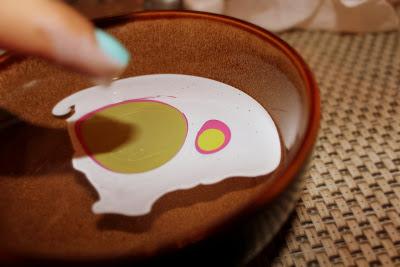
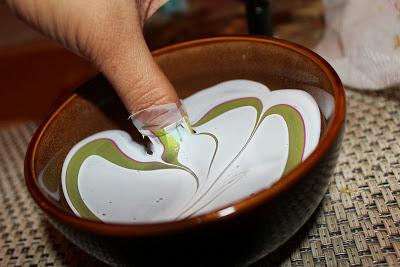
Now comes the fun part. To make this step easier, simultaneously open the lid of all the colors you wish to use for the marbling. I started by dropping some Maybelline porcelain party (white ) into the water, followed by Sephora OPI that's a hot pink and Sally Hansen lickety-split lime. Make sure not to move or shake the bowl until all the colors have been poured. Now cautiously use a toothpick to spread polish in the desired shape/direction.
Once crisscrossed, dip your fingers one by one into the water. Redo the marbling ( above step ) if the polish starts to get lumpy. Once all fingers are dipped, the look of the nails and the fingers is not the most sought after look, but trust me things hike for better from here.
Now with the aid of a Q-tip dipped in some rubbing alcohol, clean the extra polish in and around the nails. Let the polish dry completely and finish with a layer of top coat.
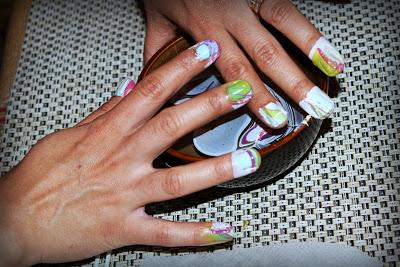
Now what ???? That's it.......it's time to flaunt
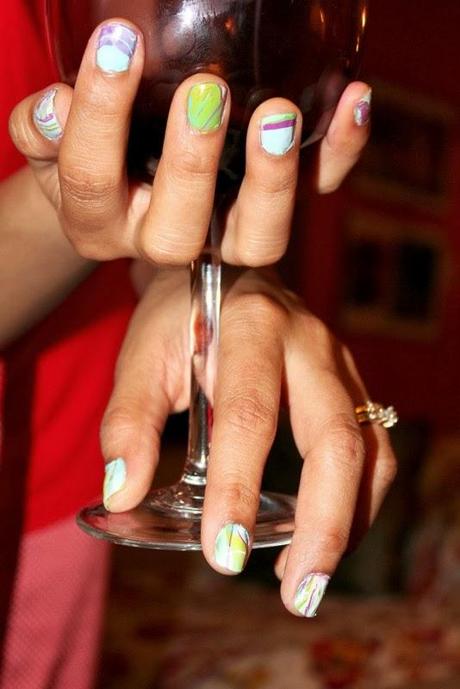
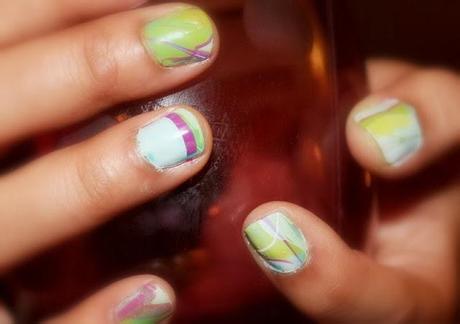
Hope you like this easy but fun marbled manicure !!
Thanks for stopping byFashionably yoursSAUMYA
