Here it goes.
Step 1: Take a blank sheet of paper. Try to use a thicker one. Ask your child to fill it up with colors of his/her choice. Children love this part the most.
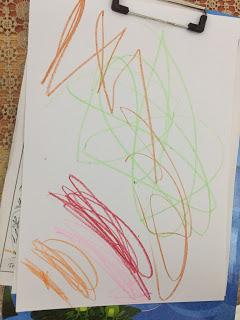 The very idea that they just have to scribble all over it without any boundaries or color directions fills them with excitement.
 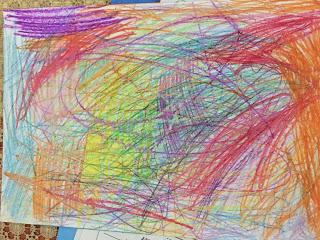 I preferred filling up some left over white patches after my son was done.Step 2: Now, my son is currently mad over water colors. He also likes using black color – may be because he rarely gets to use it.
 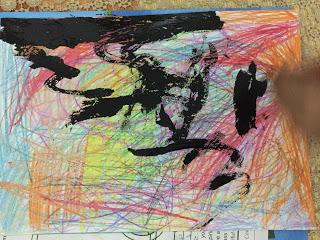 Place the sheet over a newspaper and ask the child to fill it up with the black poster color.
 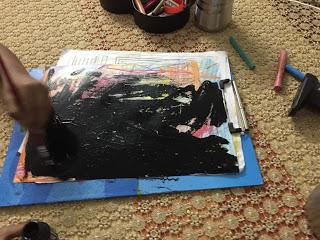 Make sure that it is not diluted and try to make it as thick as possible. Step 3:Let it dry. It was the most difficult part for me.
 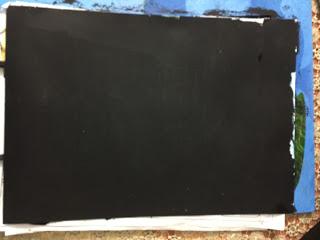 The kiddo came asking me every 2 minutes if it was done.
Step 4:Turn the sheet on other side and draw the outline of shape you want to cut. We made a simple leaf. Actually, I put dots and ask my son to join them. It was for his school and thus obviously I did not want it to be messed up.
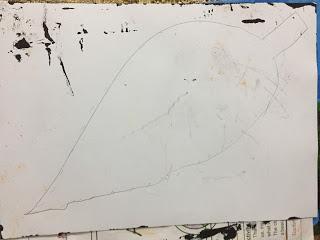 Cut the shape along the outlines. The kid has now understood that it is the job for grownups.
Step 5:Take a sharp object (not too sharp to tear or cut through the paper) and draw your imagination. Toothpicks are the most common choice. We had a message to write, so I wrote it. We used the back or out paint brush. Make a few stars or smileys here and there to make it look alive.Here it was all ready:
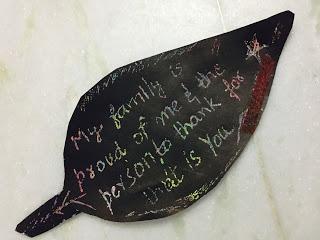
The card might not look very neat and professional. I also forgot to add his name and ended with messing it up with writing followed by trying a colored tape. When it comes to his homework and projects, I make him do the stuff he can. It does not make his projects look the best in class, but then he gets to know the effort it takes and he also enjoys exploring. Plus, my purpose of not doing my child homework is also resolved. Yes, we are supposed to help our kids in their assignments not do the job for them.
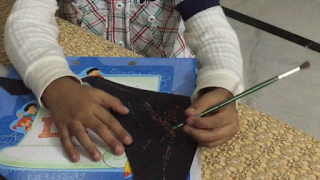 The kiddo was obviously not happy with me doing all the magic and thus I gave him the left over sheet and he went on scribbling. I am definitely going to try it again with him and let him make some nice magic drawing. I am sure he would be telling his mam and friends that he made the card with magic!