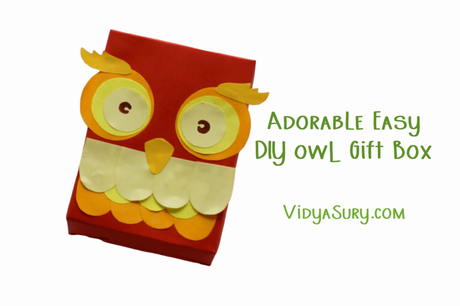
I love owls. And this adorable easy DIY owl gift box in just six steps is exactly the fun thing to do with your kids, or even without your kids when you are at home. Especially now, when we are flattening the curve!
When my son was little, we loved paper craft. I still have quite a few of the things we made. He had just begun to use scissors and found it fascinating to cut shapes. He was 2 when we got him his first set of scissors. They were toddler-sized, blunt tip scissors that opened and closed easily to avoid getting hurt.
But before we get into the DIY owl gift box . . .
A word about the role of using scissors in a child's development
Children can usually start using scissors when they are about 2 years old as this is the time they start building basic mental and physical skills needed. These are important as they form the foundation for the rest of the child's education and development.
Learning scissor skills develops strength and coordination, building the child's fine motor skills. Of course, this needs plenty of practice (and patience) as they are developing the muscles to use the scissors.
Strengthen hands and fingers
To help your child get used to using scissors, help them by strengthening their hands and fingers as the muscles develop. Some fun activities involving squeezing and using fingers can help while building their coordination. Examples are:
- Water squirt toys (also a great way to enjoy bath time)
- Finger puppets
- Tearing paper
- Using tongs to pick things up
- Playdoh
All of this helps build fine motor skills.
Hand-eye coordination
Using scissors helps your child develop hand eye coordination. As they use their hands, they learn to track what they're doing with their eyes. Help them practice with the following:
- Playing catch and throw with a ball
- Tearing paper into small pieces
- Puzzles
- Building blocks
Bilateral coordination
Using scissors also develops bilateral coordination, or the ability to use both sides of the body simultaneously while the hands are busy. For example, the child holds the paper with one hand, and cuts with the scissors with the other, along a line.
Some activities to help with this are:
- Placing clips around a paper plate
- Connecting or separating building blocks
- Spreading peanut butter on bread
- Craft projects involving punching holes and lacing string through the holes
Of course, it goes without saying that you must choose the right pair of scissors that match the size of your child's hands. Let the scissors be blunt, but sharp enough to cut the paper.
Show your child how to use the scissors safely so they practice. Also, tell them that scissors are only for cutting paper. No scissors unless supervised until you are confident that they can use them safely. And no walking around with scissors in the hand.
The best way to learn to use scissors is through play, right?
Back to our easy DIY owl gift box!
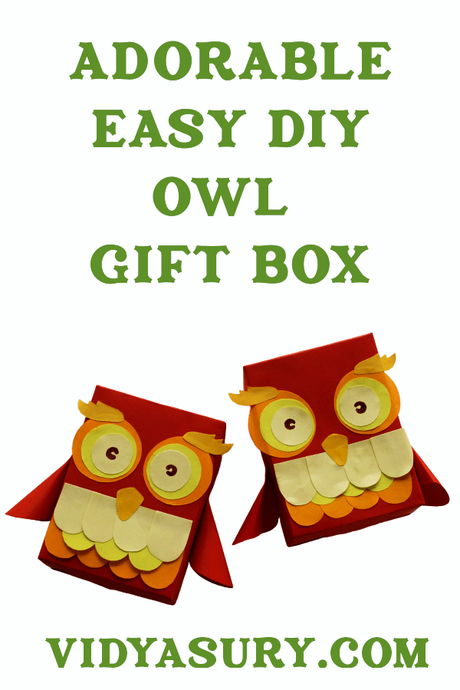
Supplies you need for the Easy DIY Owl Gift Box
- A cardboard box (or two) - you pick the size. Any spare box/cereal box will do. If your kid is older, she could probably make the box. I suggest a size large enough for your toddler to handle easily or it becomes difficult to glue the smaller shapes on.
- A pair of scissors (Safe scissors for toddlers)
- Glue
- Colored paper of your choice - size depends on the size of the box you choose
Getting ready to make the Easy DIY Owl Gift Box
Cut the colored paper into the following shapes (see photo)
- Three sets of round shapes for the eyes, one slightly larger than the other
- Eyebrows to go above the eyes
- A small triangle shape for the beak
- Two or three sets of U shapes for the feathers
- Drop shaped wings to stick on the side of the box
The owl can be any color, really. Colors shown are just a suggestion.
Step by step instructions to make your easy DIY owl gift box
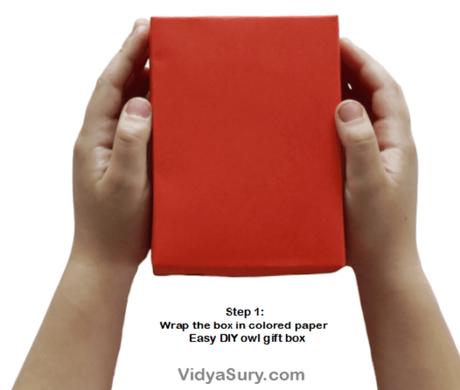
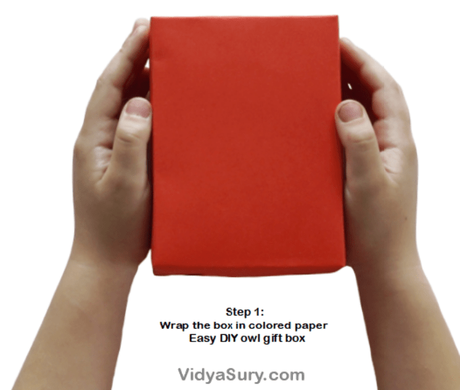
Get the box ready. You can either wrap colored paper around it, or color the box with the color of your choice. If gluing paper on box, let it dry.
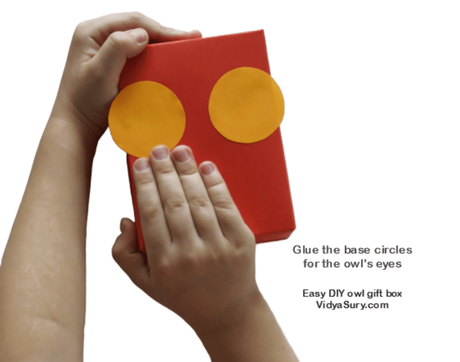
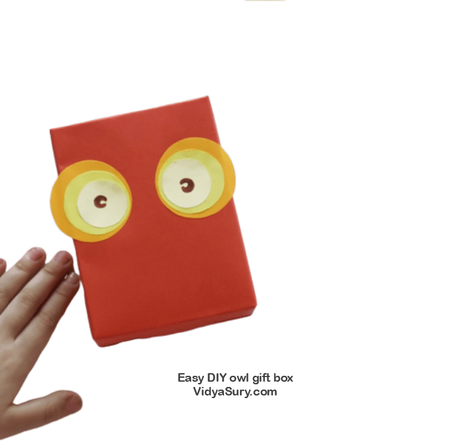
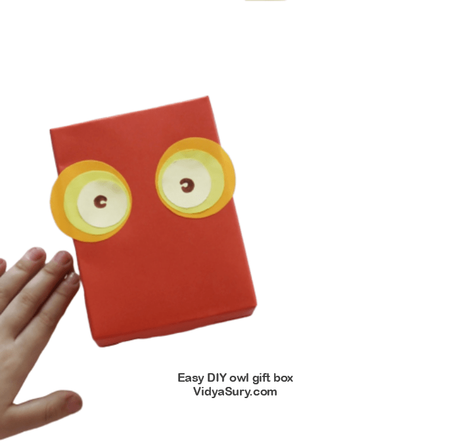
Glue the base circles for the owl's eyes on the box (see photo)
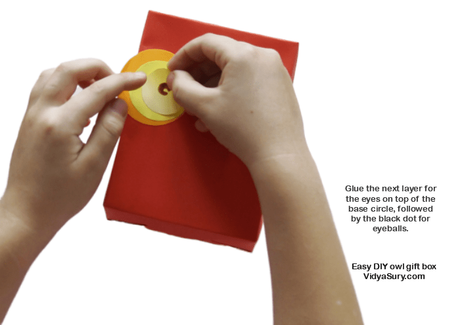
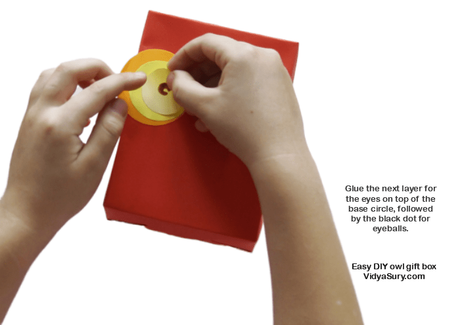
Glue the next layer for the eyes on top of the base circle, followed by the black dot for eyeballs.
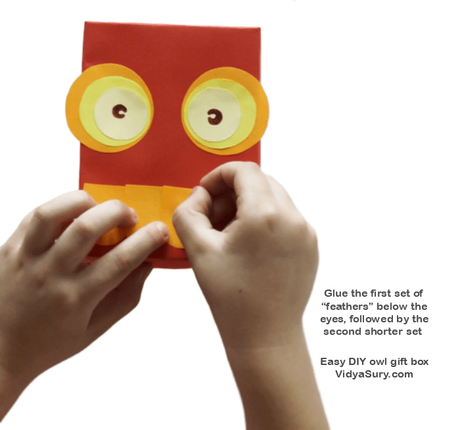
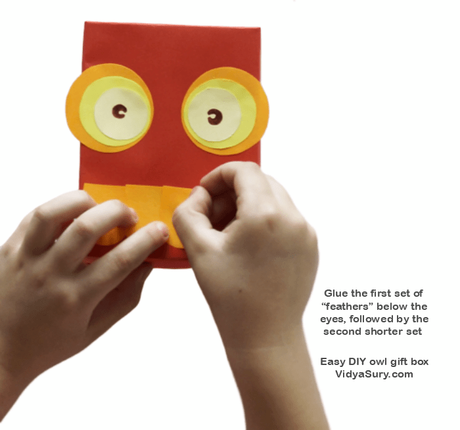
Glue the first set of feathers below the eyes, followed by the second shorter set.
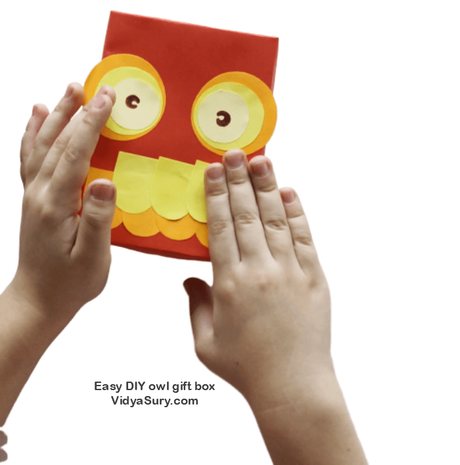
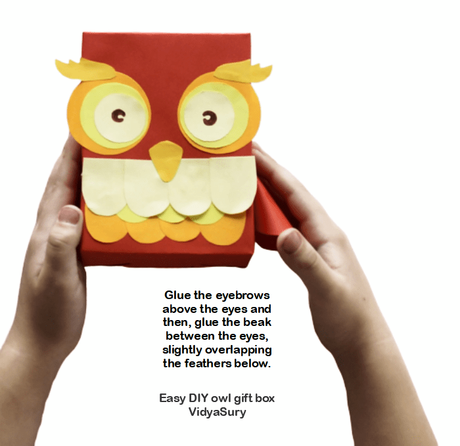
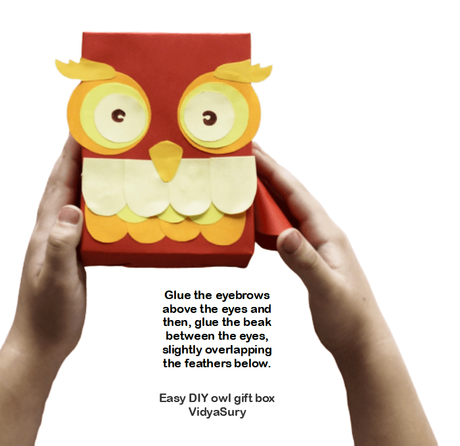
Now glue the eyebrows above the eyes. Then glue the beak between the eyes, slightly overlapping the feathers below.
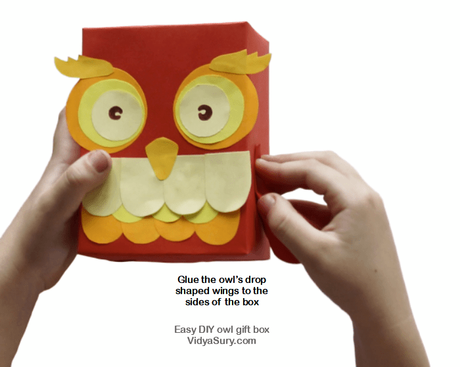
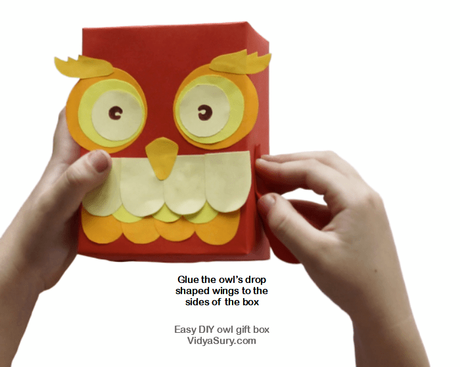
Glue the owl's drop shaped wings to the sides of the box
Voila! Your DIY owl gift box is ready!
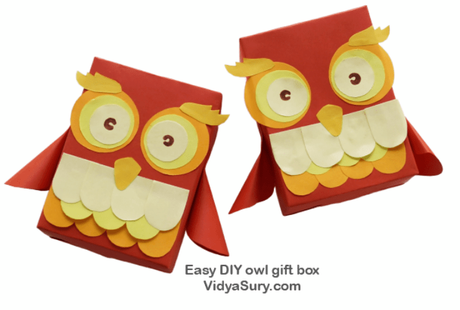
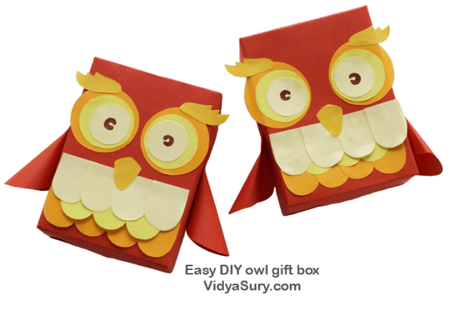 What a wonderful feeling of accomplishment!
 It is perfectly okay to get things crooked. Owls look quite cute either way!
Now fill your gift box with goodies. Place them in a prominent place so you can admire them with your child. Or place them on your child's table. If you chose a big box, you might even be able to keep some books in it.
If you make this DIY owl gift box, do show me a pic and tag me on social media - @vidyasury everywhere. Well, almost.

