It's not always easy to come up with creative ideas.
Sometimes you go into a mental block and your imagination forgets it has legs that can run or wings that can soar.
Here are some things you can do to get the creative juice flowing:
1) Go window shopping. Visit the stationery store, toy store, craft shop or even the supermarket.
2) Browse through craft websites or blogs for some inspiration.
3) Gather some friends, talk to them and draw ideas from everyday topics.
4) Rummage through the house and find materials that might fuel your creativity.
I love 1) because it's a great motivation to dress up and hit the streets and 4) because it's a brilliant way to save on money.
******
Remember Angel and I did a butterfly craft with Hama beads some time ago?
I had bought two big packets of the Hama Maxi beads and was looking for a chance to use them up. So today, we decided to make a Rainbow Fruit Bowl! 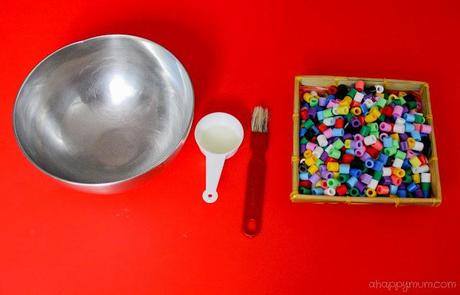 What you need:
1) A bowl of your desired size (It must have a smooth surface and is safe for use in the oven)
2) One teaspoon of cooking oil and a brush
3) Assorted Hama beads (I used the Maxi ones but you can also use the smaller sizes)
4) Oven 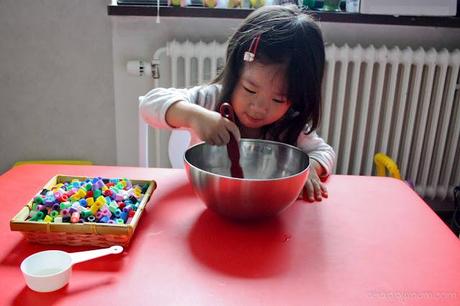 Firstly, brush a layer of oil onto the inside of the bowl.
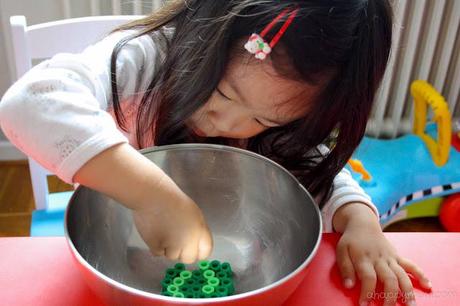 Next, arrange the beads in your desired pattern starting from the bottom.
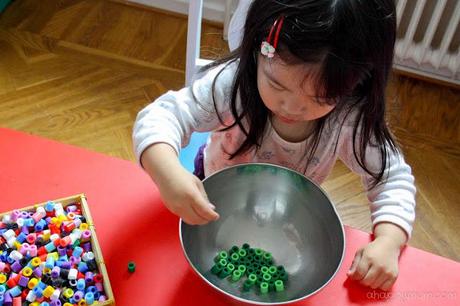
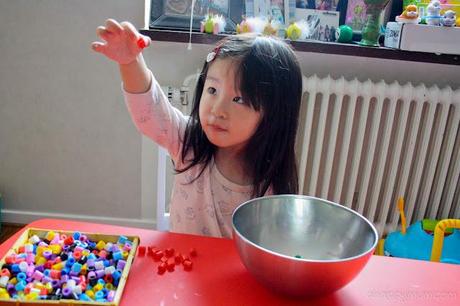 It is a great opportunity to let your child practice her finger dexterity and you can also task her to pick out the colours.
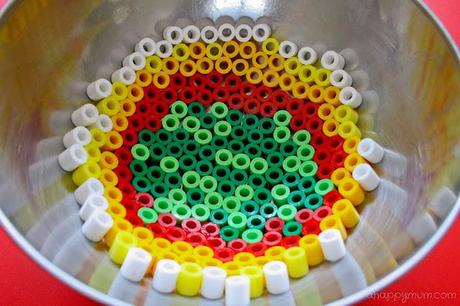 Work your way up, ensuring that there is as little space as possible in between the beads.
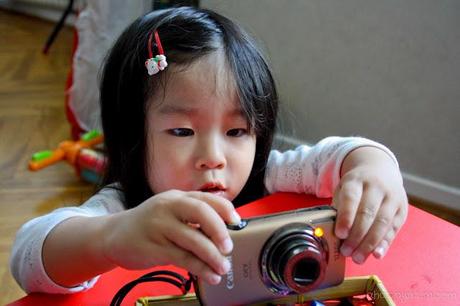 Beware! This craft might take longer than half an hour and if your child has an attention span like my girl, chances are she'll run off halfway and leave you to finish up the job. Angel decided to become the photographer and started taking pictures of her unfinished craft and her mommy who was still in her PJs.
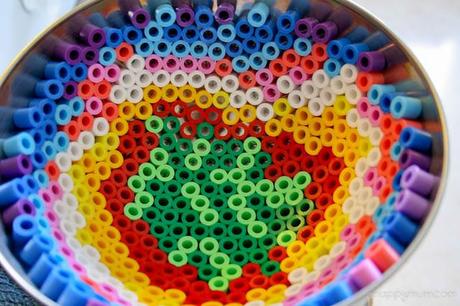
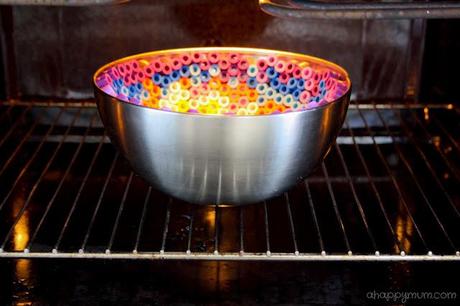 Once you are satisfied with the final arrangement, put the bowl in a preheated oven at 200°C for 8-10 minutes. Since different ovens work differently, the trick is to constantly keep an eye on it and once the beads start to melt and have fused together, you can remove it from the oven.
Tip: For mine, the top part of the bowl started to melt faster than the rest so I switched my oven from top and bottom heat to bottom heat only.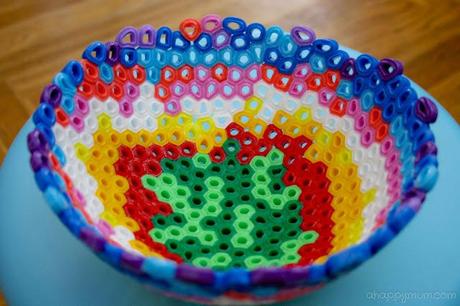 Allow the bowl to cool. Once so, it should be easily removed by just tipping over. Wipe away any remaining oil from the underside and ta-dah, we are done! Easy, isn't it?
For the more creative ones or those with more time to spare, you can come up with designs like making floral patterns with the beads (1 in the middle, 6 around it). As for us, we were contented to stick with just a rainbow one for our first attempt.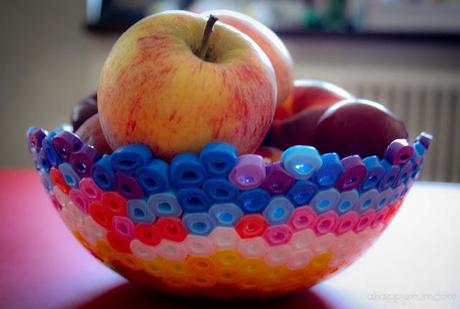 So, how do you like our new fruit bowl?
 At least I think Angel was thrilled to see the final product because she proudly exclaimed "See? I help Mummy to make this!"
Yes baby, Mummy probably couldn't have done a better job without you.
For more craft ideas and DIY tutorials, visit my gallery here.
******

