This week I came across a site with a wreath to make that I ADORED!! The site is called Crafty Chic Mommy, check it out…she has tons of cool DIY stuff on there!!
So let us begin…
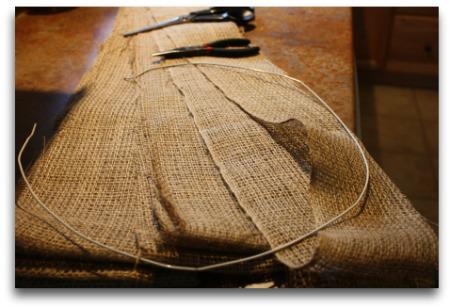
The stuff you will need:

- A pair of Scissors
- Pliers
- A wire coat hanger
- 7′ x 4′ piece of burlap
- Any kind of decoration you would like
First off, I cut the burlap into strips about 2 inches wide. You could definitely change the size of the strips if you want to. I wanted mine to be a bit more compact so I did them a bit smaller than the original directions said to.
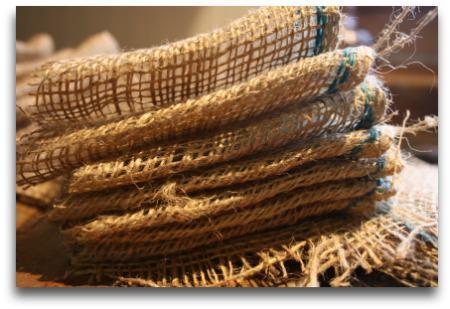
Next take your coat hanger and cut off the hanger part (throw it away) and make a circle shape with the wire. Now take the burlap and fold it accordion like in about 2 inch squares. Take the burlap and push the coat hanger through it, adding a strip at a time.

You want the wreath to be full so you will actually need a lot more burlap than you think you will, I had to go back to the garden center and get more to finish it off nice and fully.
Once you are done adding all your strips take the pliers and fold back the coat hanger into a half circle on the end. Draw other side of wire through newly made hole and turn back as well so circle is connected.
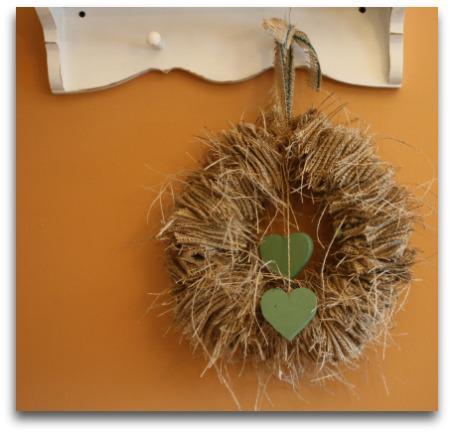
By the time I was done I needed to trim some of the flyaways off of the wreath, but you can pick your look :)
Then I added the wooden hearts for this weeks decoration, you could change it to whatever you like or whatever season it is…

Super easy, and super cute!! And this project cost about $5 to make, for real!!! Decorate it with stuff you already have, or buy fun stuff to add at the dollar store!!!
Have fun out there kids, and if you have any great links or ideas be sure to share them in the comments :)


