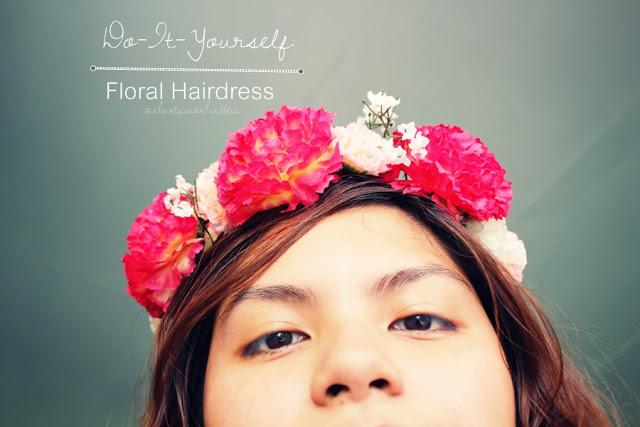
Before the summer season bid farewell to all us here in the Philippines, I will teach you how to dougie. Hahaha I kid. I mean teach you the DIY hairdress I made long time ago. Yes! It took me months to remember that I have made a special post for this. Gahhh! I am so forgetful sometimes. I made this when I was having quarter-life crisis and I need an activity to not let my mind overthink for a couple of minutes or hours. I confess making crafts, reading, blogging and writing to my little journal makes me sane. Makes me release the stresses I am encountering in my life. One more thing, praying and talking to God is one of the moments I treasure for those insane-biopolar-day I am having sometimes. Anyways, back to the topic, let’s do some arts and crafts! Ready?
Materials:
- scissors
- wire
- floral tape
- artificial flowers (the more colorful the better)
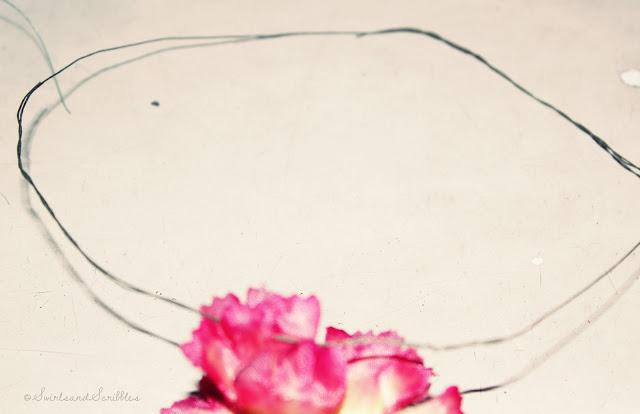 Measure the size of your head or the head of the person who will use it by circling the wire on the head. Then, if you are satisfied with the size, cut it. It will be round just like the photo above.
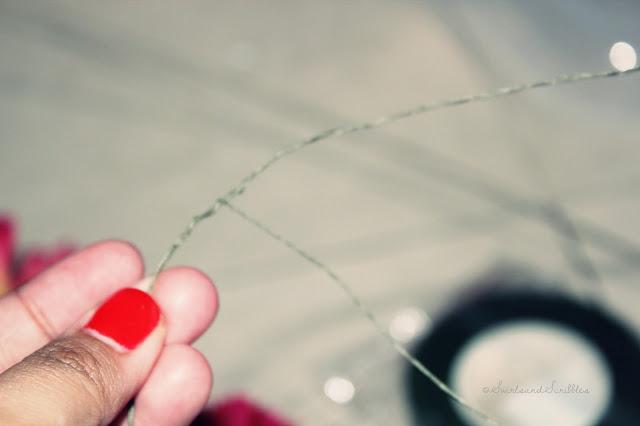 Next step, make the wire a little bit thicker by rolling more wires on the base. Wire on wire baby!
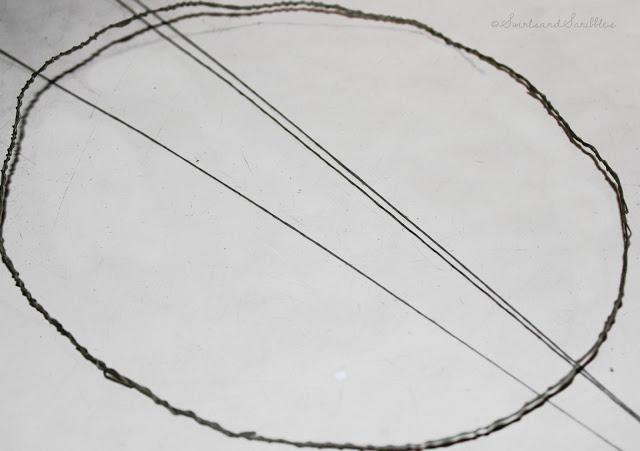 Ta-da! After rolling the wire. It will look like the image above! :)
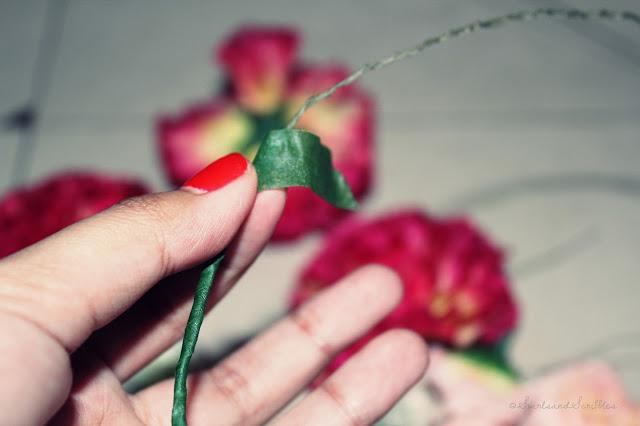 It is now time for the use of floral tape. It will hide the wire and it can also transform
the ordinary wire into a stem look a like.
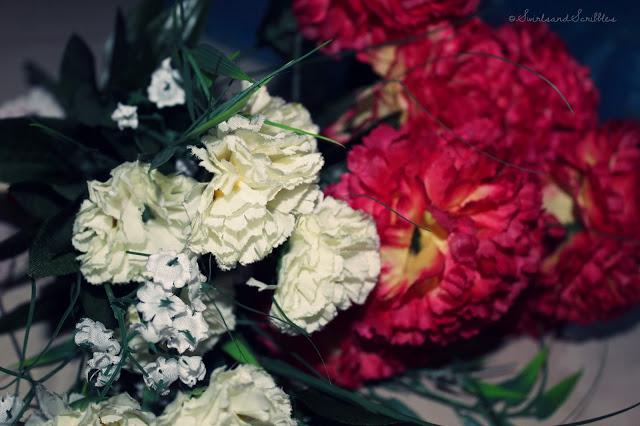 Now time for the main event, the artificial flowers. We will remove the stems of it. Leaving the flowers only. Look at the next photo.
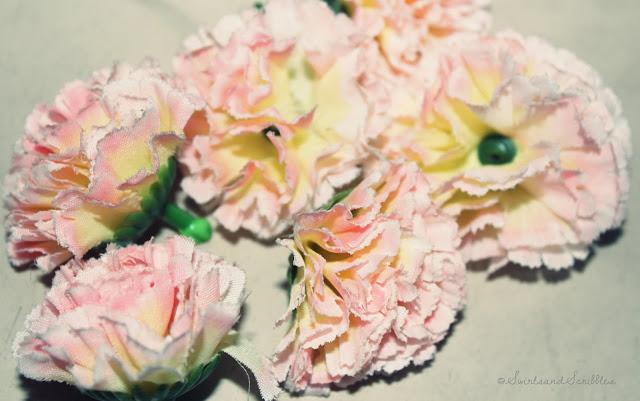 Flowers without the stem.
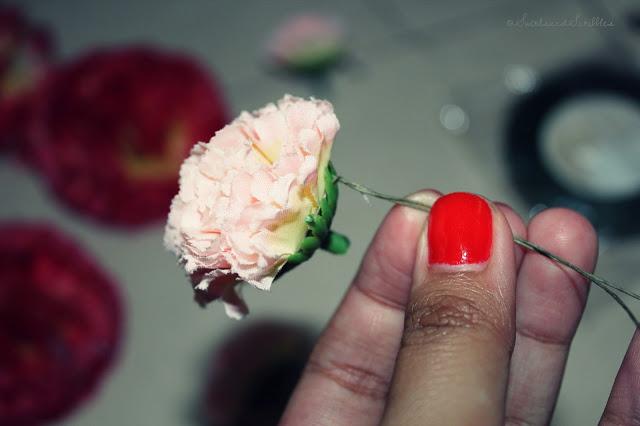 Now, let's use the wire to hold the flowers. Just like the photos above and below.
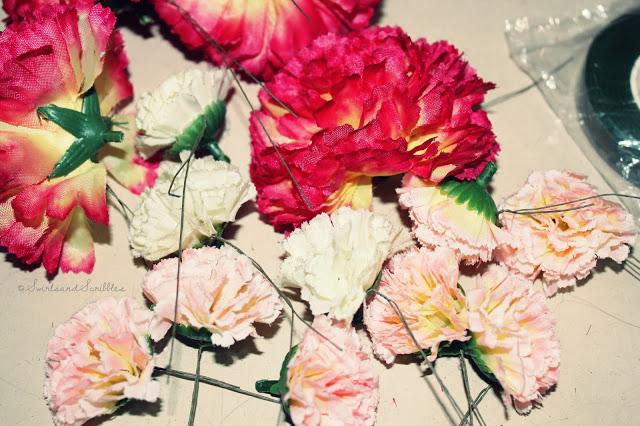 It's like replacing the stems into wires. The more flowers the more
colorful it will be when it is finish.
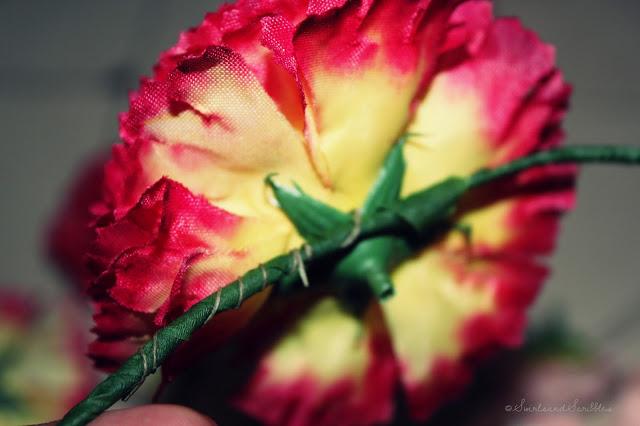 The last and final step! Attached the flowers to the base we have measured for our head/s a while ago by rolling the "stem" wires of the flower. Just like on the photo above.
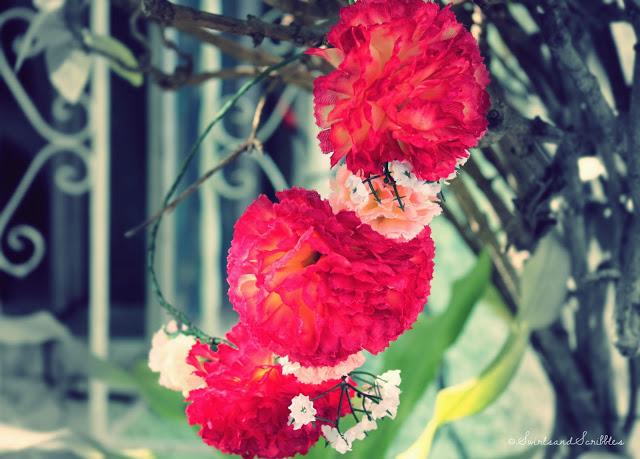 The finish product! It's so nice! (Of course! I made it! hahahaha) I will post a #OOTD wearing this hairdress. I am having a fun with DIYs lately. Do you have any suggestions for my next DIY post? Comment please! I can't wait to read your feedback/s and suggestion/s.
Posted in: crafts,DIY,hair,hairstyle

