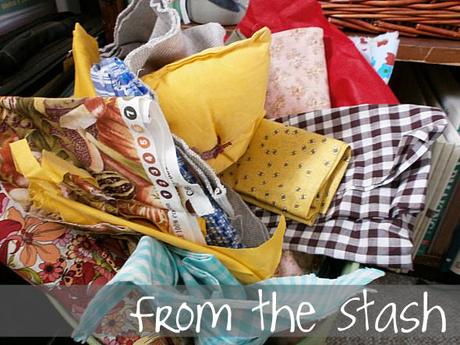
It's been a while since I posted a from the stash post. But I haven't had a lot of time for sewing, until the last couple weeks. And I was so excited when Pip when down for his afternoon nap to be able to sew for a little bit. A while ago I shared some fabric that I bought, and thought would look cute as a changing pad cover. Recently I decided I was sick of staring a white while changing Pip, and found a few spare minutes to finally whip up this cover:
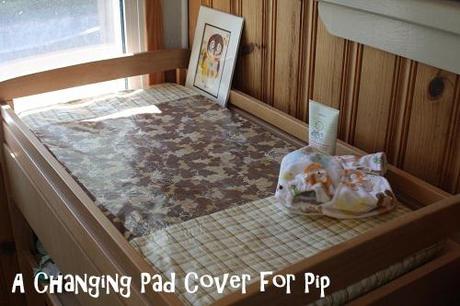
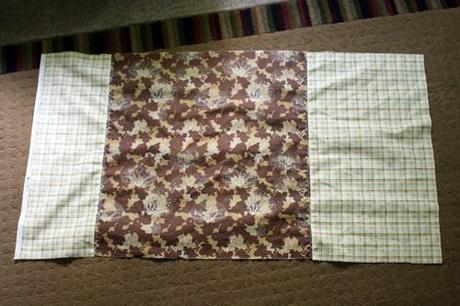 Since it was rather simple. I thought I would share. First measure your changing pad across the top and the sides. Add the side measurement to the length and width across the top and then add another 2-3" to these measurements. Cut your fabric to the total length and width measurements, or in my case piece together scraps to make the size you are looking for.
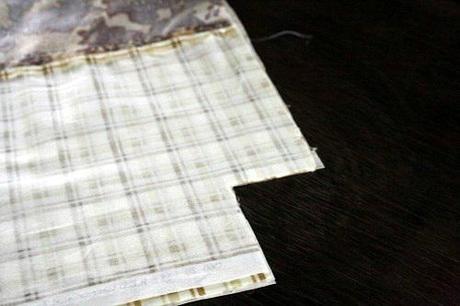 Fold the fabric in half lengthwise, and then widthwise. Make sure the corners are perfectly lined up and then cut a 2"x2" square out of the corner. With right sides facing, sew the edges of the cut out squares together.
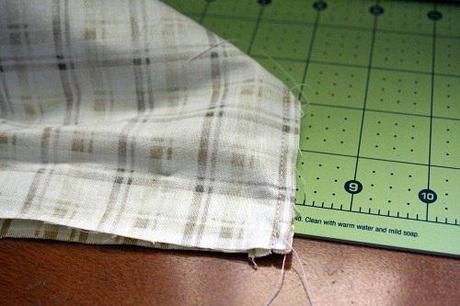 I chose a bit of a shortcut for the edges of the pad. With the right side of the fabric down place a 1/4" elastic 3/8" from the edge of the fabric, fold the fabric over the elastic, and stretching the elastic out use a zig-zag stitch to hold the fabric and elastic in place. I chose to secure the elastic around the short ends and about 1/4 of the way up each of the long sides. You could go all the way around with the elastic if you wish. I did continue to fold the fabric and zig-zag stitch on the long sides.
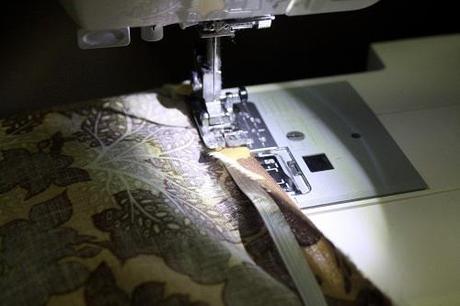
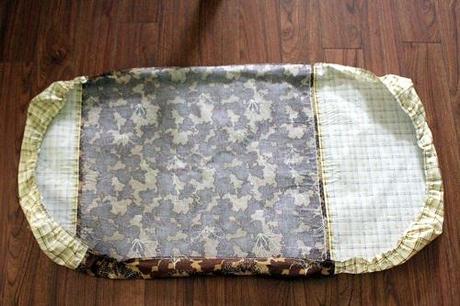 Now to make this babe friendly I used an iron-on vinyl to make it easy to wipe up messes. You can do this before the sewing, or once the cover is finished, I felt that it would be difficult to iron on the vinyl when the edges we elasticized, so I chose to iron it on after sewing my three pieces together. And as you can see in the bottom photo I added an embellishment stitch just for fun!
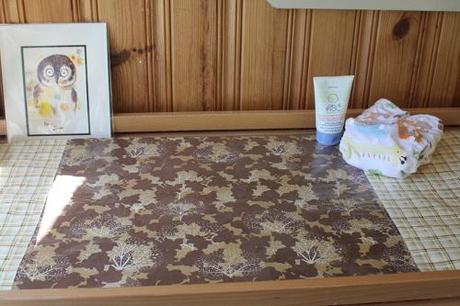
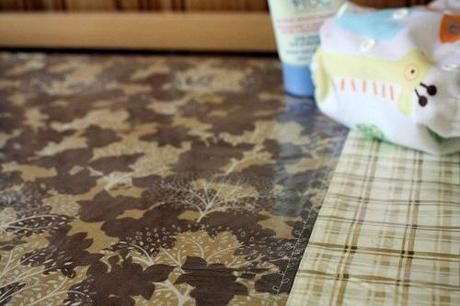 So those instructions were a little quick, if you have an questions feel free to leave a comment and I will get back to you! We are loving this changing pad now, a little visual interest for mom and a super easy surface to clean for Pip (while the cleaning is for mom).
Have you created anything lately?
xox

