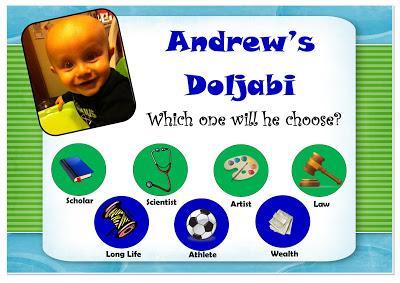
Our Doljabi Board
Planning a fist birthday party can be a lot of work. Planning a doljanchi has taken me more time than I expected.
I’ve been trying to find ways to create the needed items without spending a whole lot of money. These celebrations can be pretty expensive. Here is a blog post about blog post called How to Cut Costs When Planning a Doljanchi from the Korean First birthday site.
So what is a Doljabi?
"The highlight of the dol is a ritual where the child is placed in front of a table of foods and objects such as string, brushes, ink and money. The child is then urged to pick up an object from the table. It is believed the one selected will foretell the child's future. For example, if the child picks up a brush or book, he is destined to be smart. If he picks up money he will be wealthy; If he picks up food that means he will not be hungry. If the child picks up the thread, it is believed he will live a long life. The types of objects placed on the table for the baby to choose has evolved over time, as a reflection of society's evolving perception of successful occupations." Wikipedia
The Doljabi Board is a modern decoration that goes along with this fortunetelling ritual. Ours, like many others, will be placed on a table with small bins for party guests to "bet" on what our son will choose using a ticket they are given. Once Andy chooses a ticket will be chosen from the corresponding bin and the owner of the other half of the ticket will win a prize.
I think a little DIY can go a long way to save money for any
party. So, I’m going to share how I designed my own Doljabi Board on my
computer. I could have had one designed for me. There are plenty of people on
etsy.com that will create a digital design and send it to you electronically.
Those are good options, but they are not free options. Those custom digital
files range in price between $19.95-$45.00. I’m happy to save any of those
amounts! Because you still have to pay to have them printed after you get the
file.
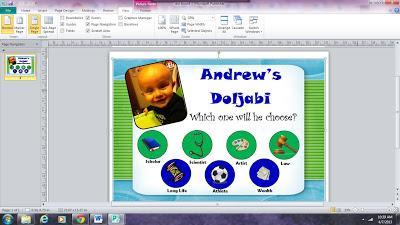
I designed our Doljabi Board using Microsoft Publisher 2010 in the
MS Office Suite. You’ll need some kind of design software on your computer
similar to this.
- Open MS Publisher.
- In Templates select More Blank Sizes.
- Select the Poster File.
- There will be a large number of blanks with the size listed below it.
- You can choose your desired size. I chose -A2 23.386 X 16.535”-
Doljabi posters are normally pretty big. Consider how much it will cost you to have a poster that size printed. When I had this printed it actually printed nicely as a 20X30 poster.
- When your blank template is open start designing.

- I used Clipart for a lot of this. The background and each of the objects were in clipart.

- I used a picture of our son that was saved as a jpeg and used one of the frame options on the Picture Tools Format Ribbon at the top.
- I created one circle that was the size I wanted using “Shapes” and then I copied and pasted it over and over until I had the number needed. I placed them at the bottom and selecting each one used the Shading option to make it a specific color. Then place a clip art image in each circle.
- I used Word Art to create the lettering.
You may work on this over a period of time. Make sure to save your work as you go.
- When you are finally happy with your creation, save it as a JPEG Interchange Format file. This is important. This is the format of the file you can use to have your poster printed. Some places will accept the file as a PDF. If so save the file in that format.
To have your poster printed you have some options.
You could spend a little extra money and take the poster file as a PDF to a FedEx Office location. Talk to them about having the poster printed on foam core. Ask about pricing and how long it will take. They can even do a glossy finish. I’ve done it before on other projects but chose to go another route this time.

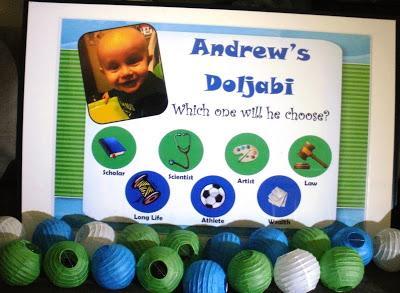
I had our Doljabi poster printed at Shutterfly.com. I had a really good coupon and it was worth it to me to use them. I uploaded the image as a JPEG and ended up printing it as a 20X30 poster.
It is framed in a much larger poster frame because I already had it (yay! Saved more money!). The white area around the edges is the back of the original poster that was already in the frame.In the photograph at the bottom are little paper lanterns I picked up in the $1 bin at Michaels. There were 2 in a package and you do have to put them together yourself. But I did all of them in about an hour with an 11 month old to keep track of.
Happy DIY Party Planning!
Check out my other posts about planning this party.

