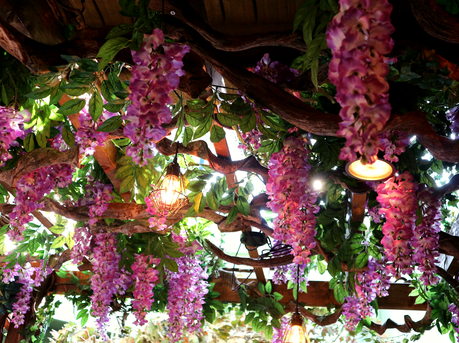
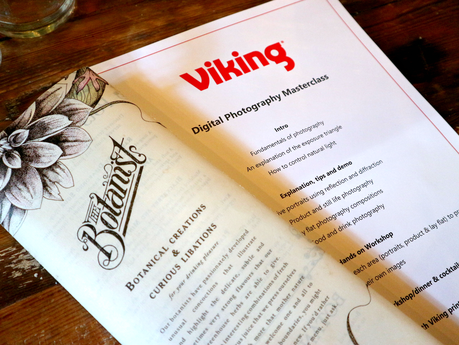
I was very kindly invited by Viking, a company who specialise in stationary and office supplies, along to a photography masterclass event they were hosting at The Botanist in Newcastle where we would learn skills that would give myself and fellow bloggers the opportunity to up our blog and Instagram photography. As this was my first official blogging event, I was incredibly excited to head along.
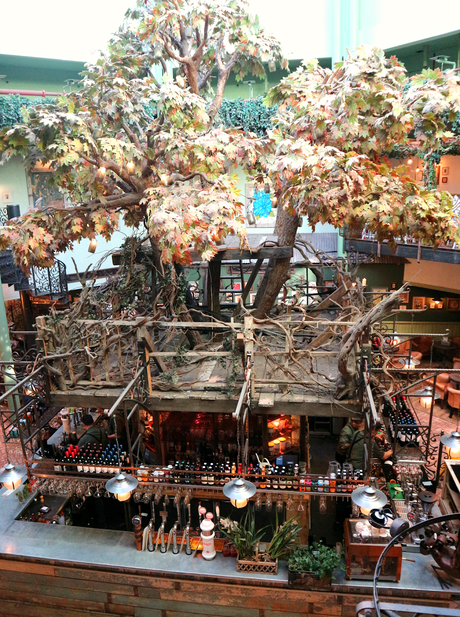
Fortunately before we headed inside, I approached a group of lovely bloggers outside the event and got talking to them and everyone was so kind and welcoming. As it was my first go at one of these events, I felt immediately at ease from getting to chat to everyone which was amazing. Once inside we headed upstairs near where the roof terrace is and took our seats at one of the tables. Although that upstairs section of The Botanist is a bit of a squeeze, I liked the intimacy of the event being a small size as you were able to get to know people better. There were people who's blogs I'd never came across which was great to get to know them and discover new blogs to read and I also finally got to meet some bloggers who's content I've followed for years so that was really fun as well.
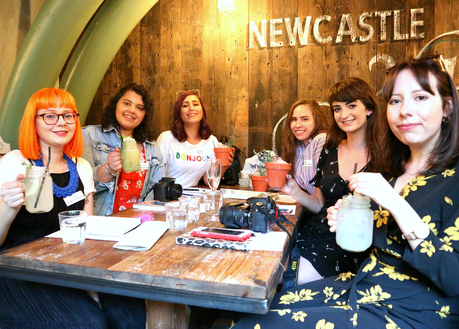
 The event was held by Viking and professional photographer Elouisa Georgiou, who began the evening talking through 4 areas of photography; creative portraits, product photography, food and drink photography and flatlay images. As someone who is still trying to learn the ropes with all of these photography topics, I found it very insightful. We then were encouraged to team up with the people on our table and experiment with each topic. I was teamed up with these lovely ladies: Alice, Yasmina, Becca, Mel & Amy (go visit their blogs! They're all fabulous!).
 We got to focus on creative portraits first using prisms, although the idea was fun and interesting I couldn't get my head around how you used them with taking photographs. Also there wasn't many prisms to go round so I think it would have been easier to have individual ones to experiment with and would have given everyone more time to play with them. Having said that I do think it would be something I could see myself trying out more as I imagine the results could look really effective.
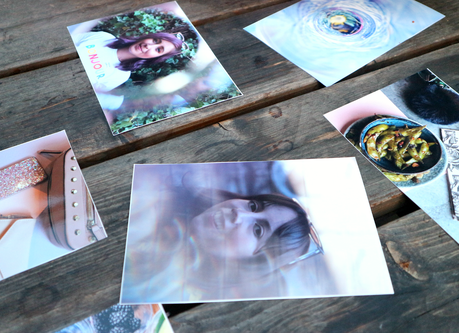 We also had to chose a photograph that we'd taken to submit to them to print off which we then laid out on the different tables out on the roof terrace, so I submitted the image of Becca using the prism technique. Elouisa then went round and critiqued them and offered advice on how to improve each.
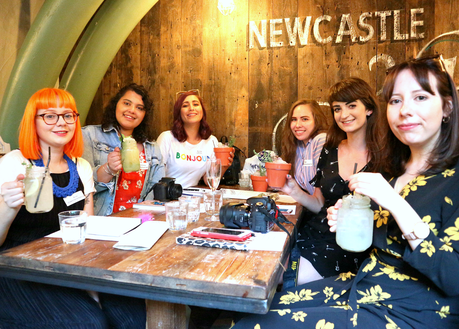
 (Above L-R: Alice, Yasmina, Becca, Mel, Me & Amy)
Once we'd done everything, we then sat back down and enjoyed a buffet and some cocktails. After food Elouisa announced the winner and it was Amy! Who won a brand new printer. After the event we were then given a Rhodesy Otopus Style Tripod Stand which I thought was a really great gift as it is very versatile and has multiple attachments so that it works with cameras, smartphones and gopros so I can't wait to use this more. We were also given the list of photography tips that were mentioned throughout the night which I've listed below:
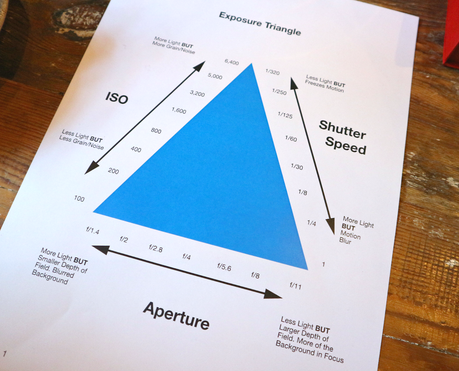
Fundamentals of photographyWith Elouisa Georgiou
If you are using a camera or if your phone has the option, get out of P/Auto mode and shoot in manual. Having greater control of your images means better photos.
Shutter Speed - This is how fast the shutter captures your image. To stop motion, you will need a higher shutter speed number, to capture motion you will need to shoot at a lower shutter speed number to create blur. A faster/higher shutter speed means less light is being let into the camera.
ISO - The lower the ISO, the less sensitive the sensor it is to the light, the higher the ISO the more sensitive your camera is to light. For clear and less ‘grainy’ photos with as much detail as possible we always want to shoot at the lowest ISO possible.
Aperture - Also known as the F stop, this controls the depth of field, i.e. the amount of subject you will have in focus in the foreground/background of an image. A wide aperture (f/2) or low F stop has a softer focus of the background, letting more light in as well as creating a bokeh (blur) to the background. A narrow aperture (f/22) or a higher F stop has more in focus in the background and lets less light in.
Getting a clear and attractive image is about balancing all three of these without sacrificing one another. If you have time but not a great amount of light, opt to use a tripod so you can shoot at a slower shutter speed to capture your image without the motion blur.
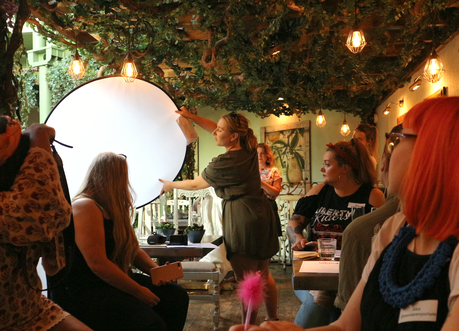 Lighting tips
Natural light is always your friend. But be aware of ambient light in the room that can play with the color balancing of your image or influence the shot.
*Turn off or block outany ambient lighting in the room.
*Use natural reflectors in the room. If you do not have anything you can use to hand, use white, light or shiny surfaces. Plane pieces of paper work well. Foam boards are a cheap and versatile piece of equipment to help bounce light.
*If the lighting is too strong, harsh or windows are too big, use a clear curtain of thin sheet to diffuse the lighting.
*If you don’t have enough light available to you, use a tripod so you can shoot slower.
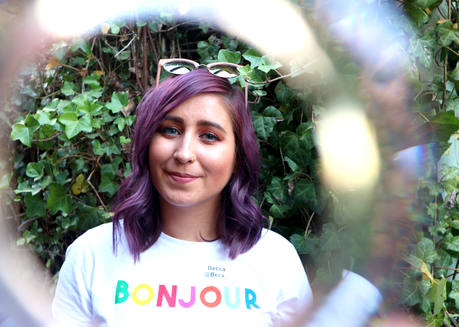 Creating interesting portraits using reflection, diffraction
*Use prisms, glasses, bottles, windows or even the reflection from a mobile phone screen to create interesting creative images.
*Experiment with holding items at different distances over the lens to create interesting flashes of lights and blurs.*Use shadows and reflections to create visibility through a reflective surface.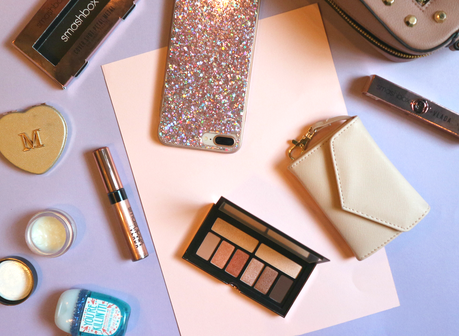 Flatlay photography tips*Use a tripod on your camera or phone if you can. This will help with any motion blur. Keep your shot consistent.*Use the live view to help you compose the different elements in your flatlay.*Don't be too afraid to put items a little closer together. Large gaps in-between subjects aren't always aesthetically pleasing.*Don't be afraid to go outside the frame. Play having a subject matter half in shot and half out of frame. There are no rules.*If using a camera, use a lens with less distortion to create the 'perfect looking' flatlays.
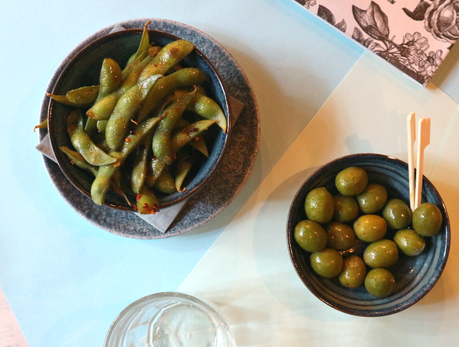
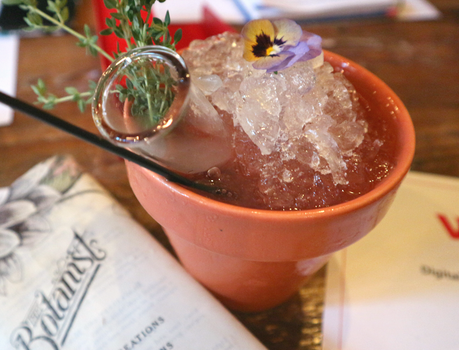 Food, drink, product and still life photography tips
*Practise using the 'magic angles' to find that sweet spot (straight on, 45 degrees, bird's-eye/flatlay).
*Don't be afraid to focus on the details of the dish. There is no rule to say you have to get the entirety of the plate in the shot.*Use bounce boards, menus or paper to even out the lighting in the shot, creating light and shadow where you want it and don't want it.*Use what you can find to decorate the image but try not to make it overly busy to draw focus from the dish.*Use a low aperture to create bokeh in the background or move the product further away from any distracting background.*If using a camera, use a lens with less distortion to give a more realistic proportional images.
Thank you to Viking for having me and thank you to all those lovely blogging ladies I got to meet. I thoroughly enjoyed myself! & Thank you for reading!
