As you may have guessed, I turned to Pinterest for inspiration and it did not disappoint. As it turns out, 20 Something Bloggers is also doing a Pinterest party, so the moving timeline worked out wonderfully and now I shall share with you all a few of my Pinspired projects.
Hat Storage
Like many women, scarves and hats are one of my favorite accessories for fall. I have a bunch, but I kept acquiring more and was running out of places to store them, so when I stumbled upon this pin, I was quite excited.
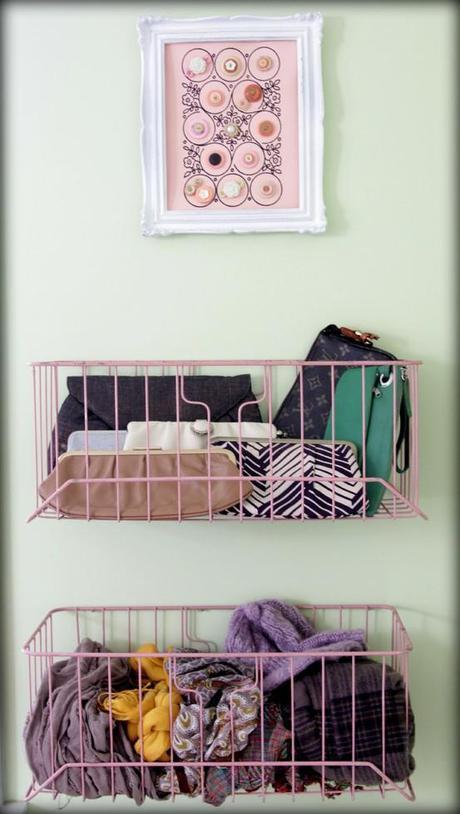 Source: 4.bp.blogspot.com via Sarah on Pinterest
As you can see in the pin, this particular pinner used this method to store scarves and clutches. I've got another way to store my purses (which you'll see below) and I have sooooo many scarves, that I wouldn't needed probably 3 or 4 of these to store all of them. So I ended up using this to store my hats and it worked perfectly.
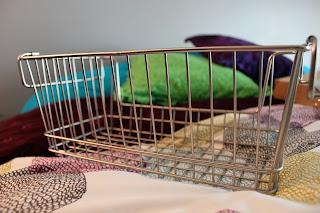
Start with a simple wire basket. I got mine at Target for $15.
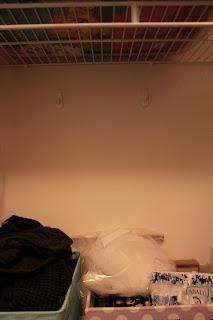
Hang two Command hooks on your wall.
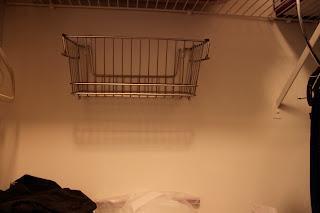
After the Command hooks are set, hang your basket.
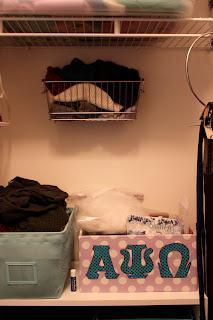
Add scarves, hats, or whatever you like and you're done!
Jewelry Storage
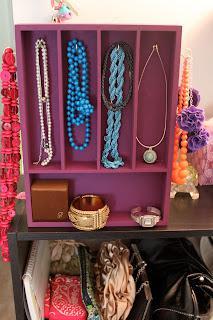
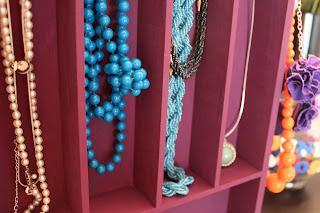
Like a lot of people, I have several big, chunky necklaces that don't fit very well into any kind of jewelry box that you'd find at Target. While living at home, I'd been storing them in a chest on my dresser, but mom had bought that specifically for the room at home...so it didn't get to come with and I had to find a new way to store all of my big, chunky, fabulous jewelry. And then I stumbled upon this pin...
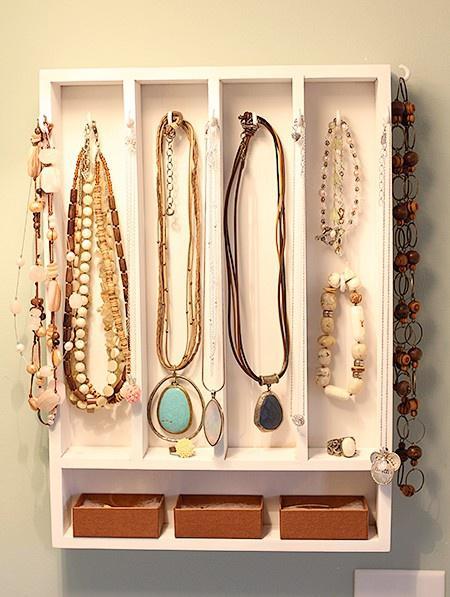 Source: homegoods.com via Sarah on Pinterest
It's so simple. All you need is a wooden utensil tray, some cup hooks, and a drill. Paint is optional.
I picked up my wooden utensil tray for about $12 at Bed, Bath & Beyond and then stopped by Michaels to get some acrylic paint and brushes. You have the option of painting the wooden utensil tray (like the pinner and I did), or just leaving it its natural color. A lot of it just depends on what kind of look you're going for. I found a utensil tray that was a nice, light brown, but it didn't go with the decor of my room, so I hunted for a purple paint that matched the purple in my room, and used that instead.
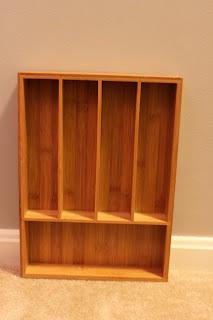
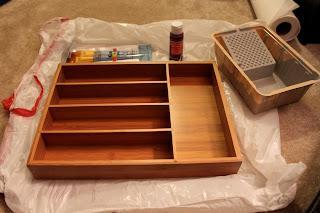
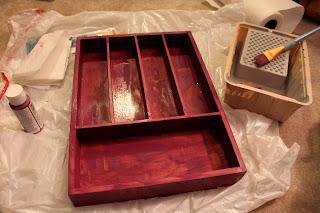
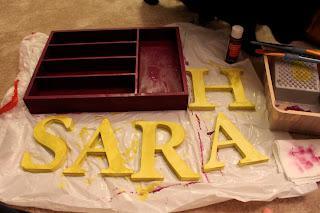
Once you've painted the utensil tray, you're ready to go.
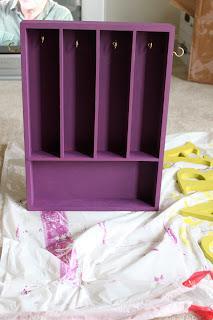
Check your cup hook package to see what kind of hole you need to drill into the utensil tray. Put the bit in and drill the holes wherever you would like to put the cup hooks. Then screw them on in, hang your jewelry and you're done!
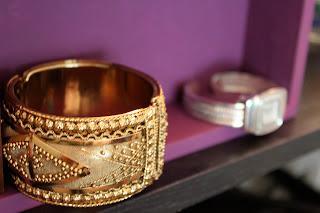
Purse Storage
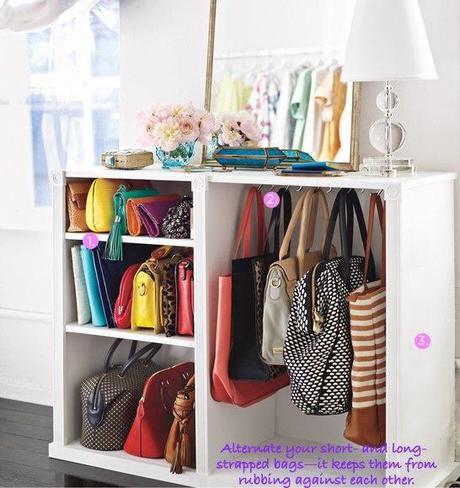
I have a lot of purses. In college and since, I'd been storing them using something I'd found at Target that hung on the back of my closet door, but I had so many of the purses and they were getting to be quite heavy, so I wanted to find a way to store them in a more attractive and organized fashion. And that's when I found this pin:
 Source: luckymag.com via Sarah on Pinterest
It was the perfect way to store purses so that they were organized and visible, too!
The bookcase in this particular pin was pretty expensive — over $300 — so I opted for a cheaper option. I picked up this bookshelf from Target for only $20 and brought it on home and put it together.
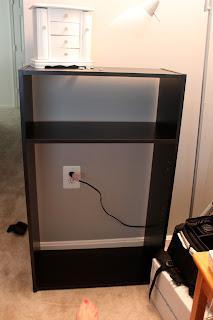
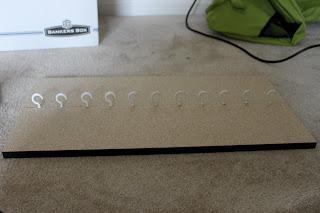
Once you've got your shelf together, the process is pretty similar to the jewelry storage above. You take one of the shelves and drill holes where you want each hook to go and then use a larger cup hook and screw them all in.
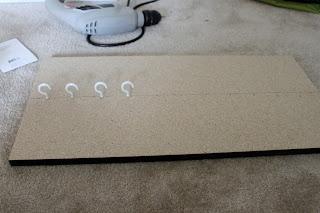
Once that's done, you put the shelf where you want it, hang your larger purses on the hooks, and put your smaller purses and clutches on the shelf above.
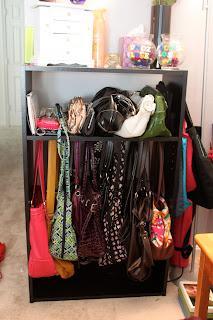
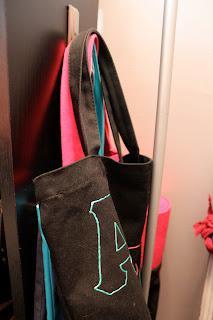
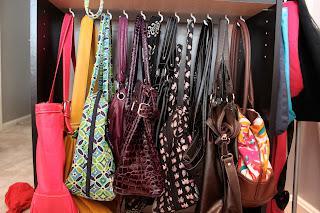
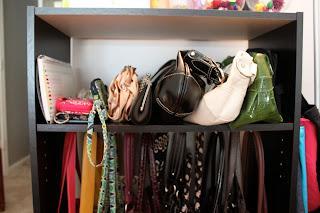
I also added a command hook on the side for a couple of extra, flatter bags, and I might add one more on the other side to hang the bag I use almost every single day for work. Total, this project cost me less than $30 and I'm super pleased with how it turned out.
Have you seen anything on Pinterest lately that you like? Join in the fun and show off your handiwork!
