I have been promising a tutorial on achieving an HDR effect using only one image – here it is! For normal HDR processing, you need to capture an underexposed and overexposed photo of the same subject preferably using a tripod or other stabilizing device and then combine them using an HDR app or software on your computer.
The method shown here, although it involves a few steps, requires only one photo.
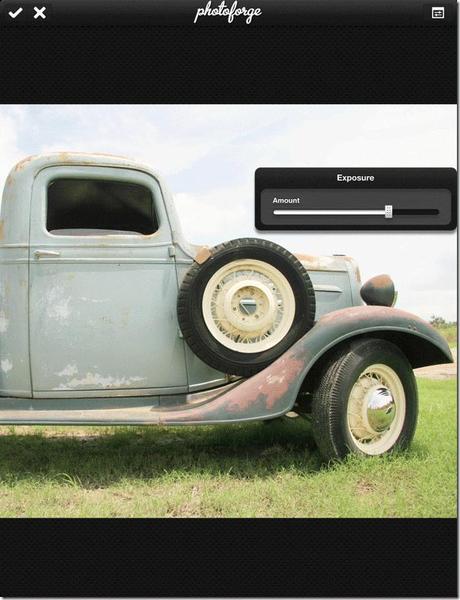
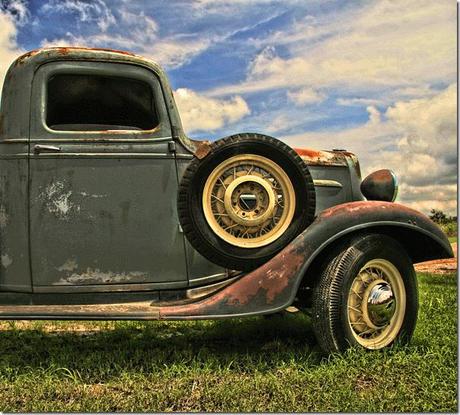
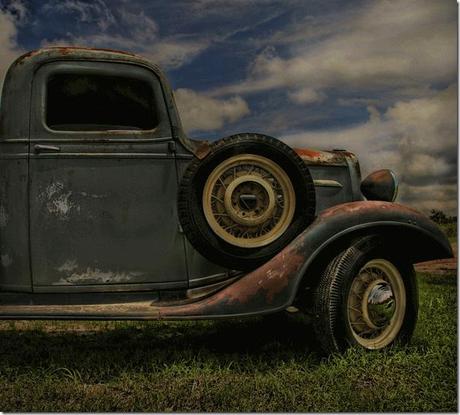
I started out with the great photo on the left of a a vintage truck by morgueFile photographer Mary Vogt. If you haven’t visited morgueFile there are 1000’s of photos with terms listed on how they can be used. The image on the right (below) is the “after” photograph.

Step 1
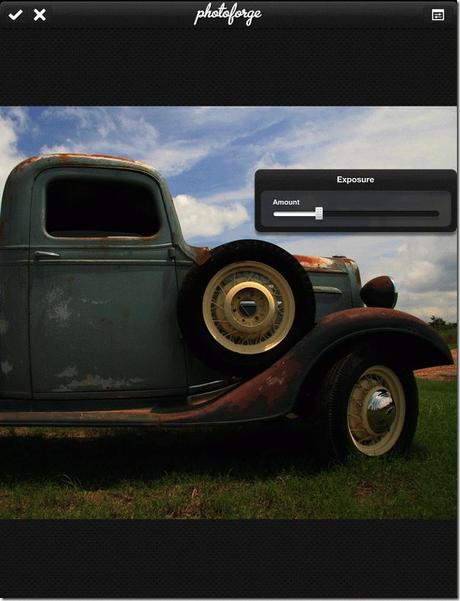
Open your image in Photoforge (I sure hope you already have this great app because it is no longer available in the USA App Store since it was purchased by Yahoo!) Choose Exposure adjustment and lighten the image to about +1.50 and Save it to your Camera Roll. The actual amount of adjustment will vary with individual photos.
Step 2
Using the History button (looks like a clock) on the bottom tool menu go back to the original image and adjust the Exposure again. This time decrease the exposure to about –1.90 (this will vary with individual images). Basically what you’re trying to do is get the details that were blown out in the original by purposely reducing the exposure. Save this version to your camera roll.
Step 3
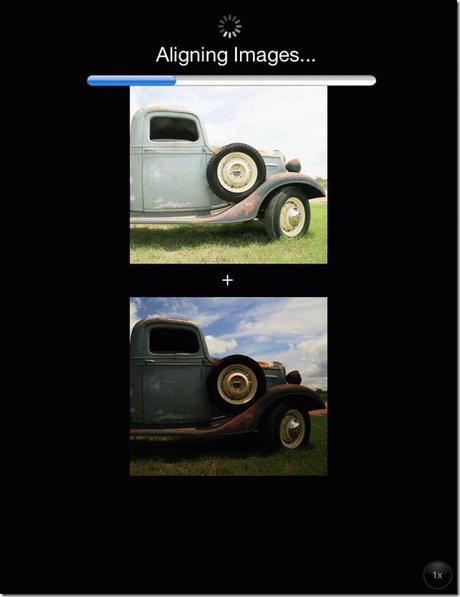
Open up iCamera HDR app (I see this app is no longer available in the USA App Store – not sure what’s up!) Tap Load a Photo and pick the overexposed version that you saved to your camera roll. The app will then give you a choice between HDR photo or Single Photo. Select HDR. You will then be prompted to Please select another photo. Choose the darker version. iCamera HDR will then align the images and process them.
Step 4
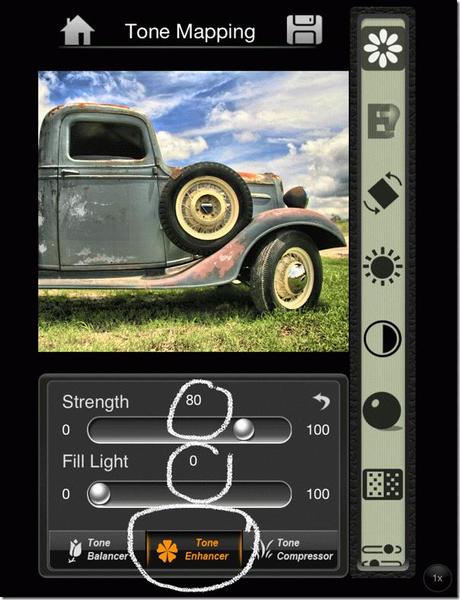
When the two images are combined into one image, select Tone Enhancer on the bottom menu and slide the Strength to about 80. Leave the Fill Light set to 0. Proceed to Step 5.
Step 5
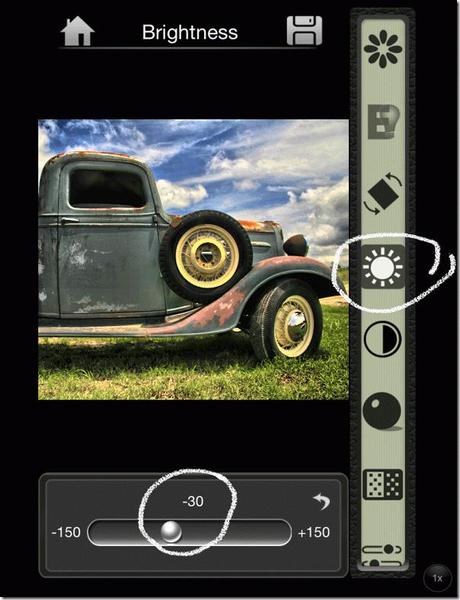
On the menu to the right of your image, select Brightness and adjust to –30.
Step 6
Adjust Contrast between 2-10
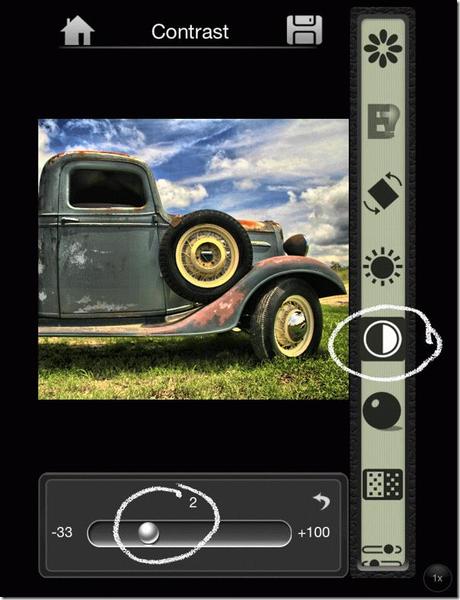
Step 7
Under White Balance, adjust the Temp slider to 10 to slightly “warm” the image.
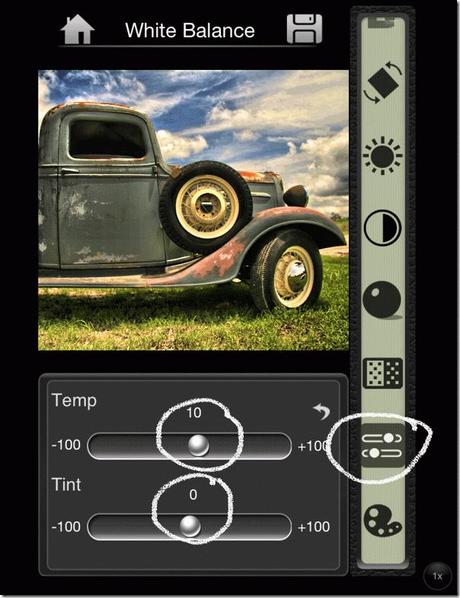
Step 8
Adjust Saturation up between 3-10
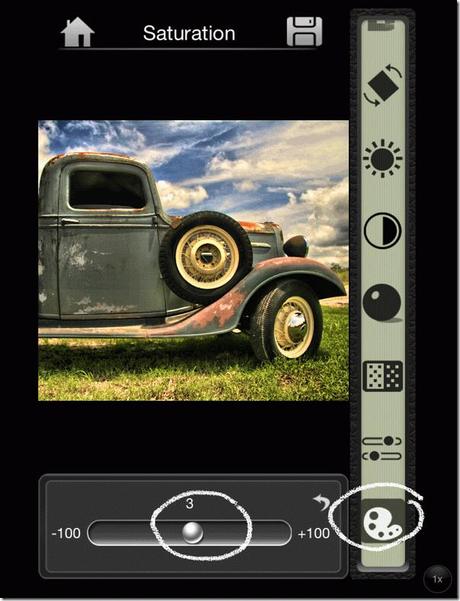
Step 9
Adjust Blur/Sharpening up to about 10
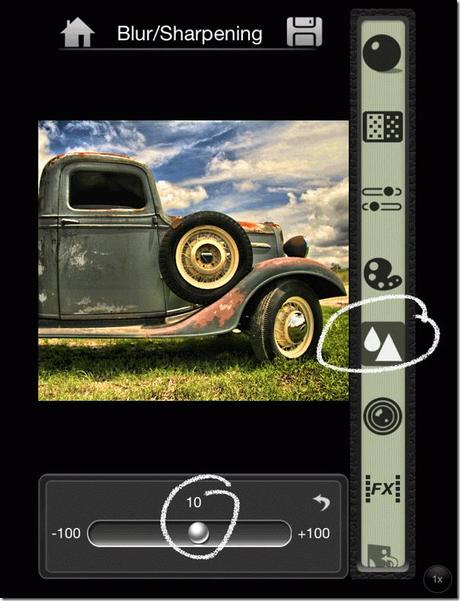
Step 10
Save the iCamera HDR adjusted image to your camera roll
Step 11
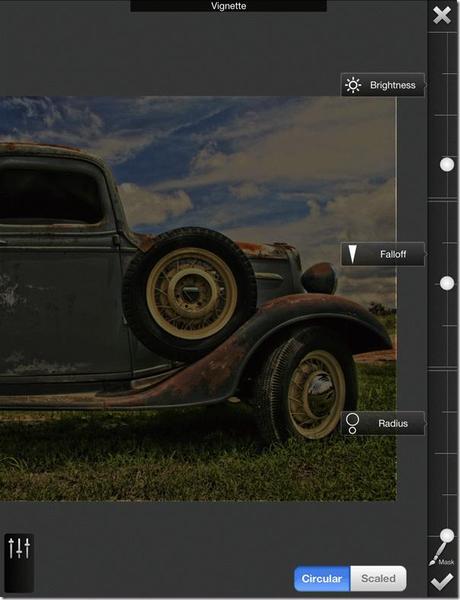
Open the iCamera HDR version in Filterstorm and under Filters select Vignette. Make sure Circular Vignette is chosen. Adjust the Vignette Radius to 0 (the whole image will turn black). Then bump the Vignette Brightness slightly to –60 (if you want a darker finished image you can leave the Brightness at –70). Click the checkmark at the bottom of the Vignette adjustment to apply changes.
Step 12
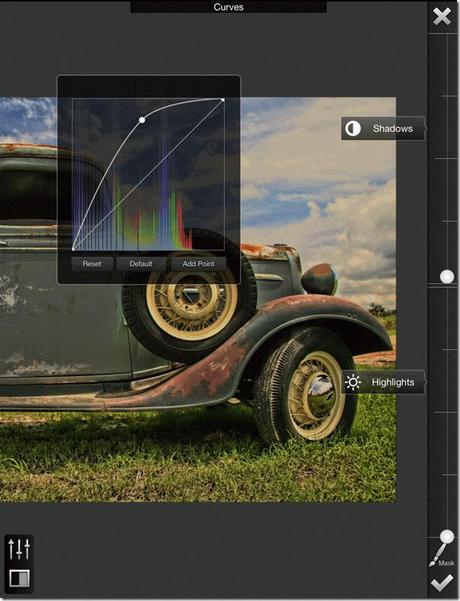
Back to the Filters menu in Filterstorm and this time select Curves. Adjust the Curves up until the image is brighter without losing the contrast. There is no exact setting for this – you just have to eyeball it. Rather than tapping the checkmark, this time we are going to mask the brightness into the image so tap Mask instead.
Step 13
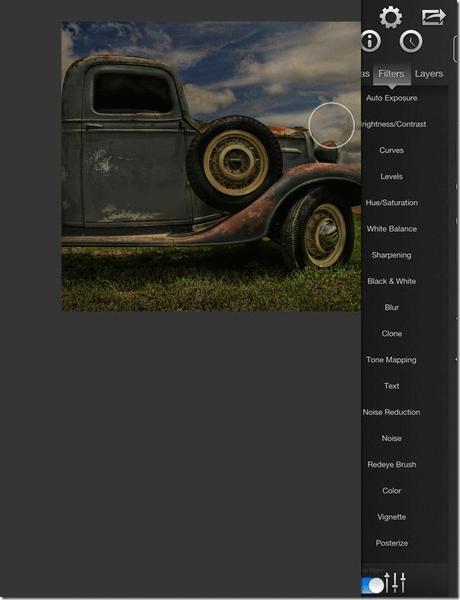
To Mask in the brightness, select the paintbrush icon on the right and a menu will pop up at the bottom left. Adjust the brush settings. I used a Diameter of about 150, Softness 100% and Opacity around 28%. Start to brush in where you want the highlights. I brushed several areas on the truck, the clouds and a few in the grass. Click the checkmark to apply changes.
Step 14
Save the Filterstorm edited version to your camera roll.
Step 15
Open the Filterstorm version in PS Express and make an adjustment to Reduce Noise (setting to about 40) and tap the checkmark to apply changes. Then Sharpen to about 20 and tap the checkmark to apply changes. Reducing the noise and then sharpening sounds like a contradiction, but it works. Save this to your camera roll.
Step 16
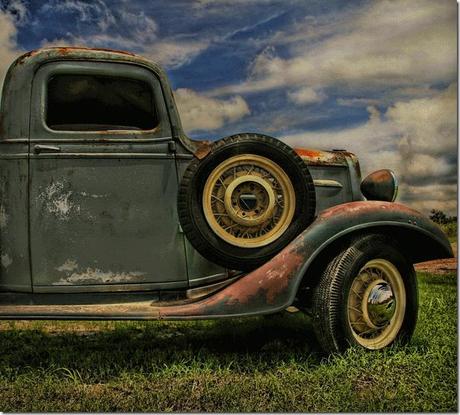
Open the PS Express version in Snapseed and adjust Brightness, Contrast, Saturation and Structure to your liking. Resulting image shown below.
Step 17
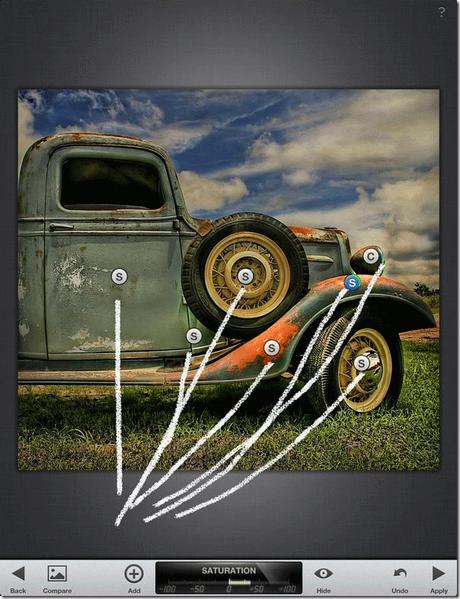
Still in Snapseed I used the Selective Adjust Tool and added points where shown to adjust the Brightness, Contrast and Saturation to really make the truck “pop”.
Step 18
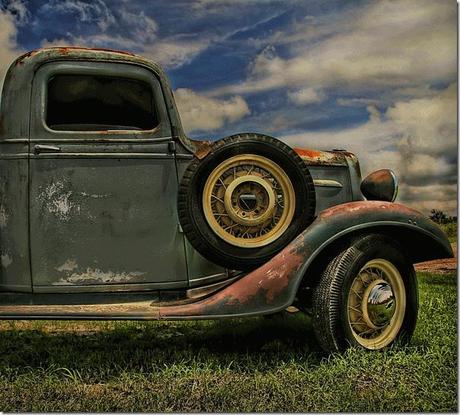
The final step in Snapseed was to apply Style 2 of the Vintage filters. It’s only fitting for this vintage truck, right?!
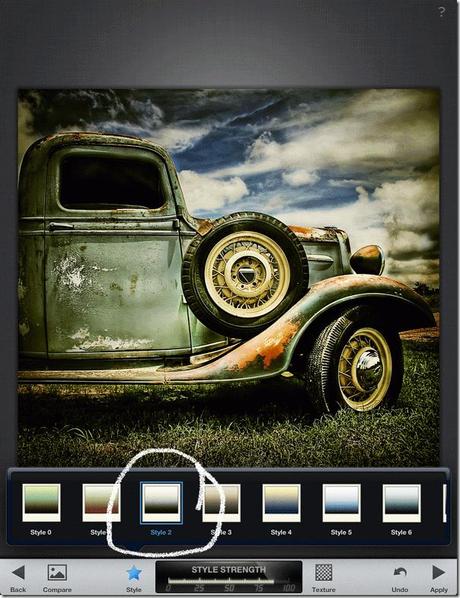
Below is the final edited image. If you try this tutorial and post your results to Instagram or EyeEm, please tag me on them so I can see your results. My username on both venues is @gericentonze. I hope to see your work!

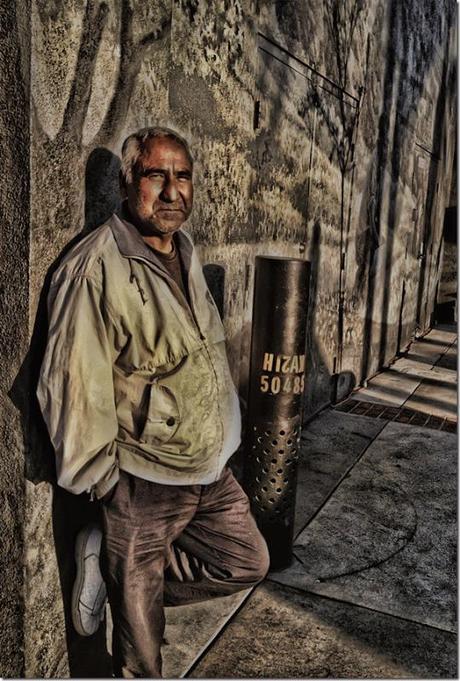
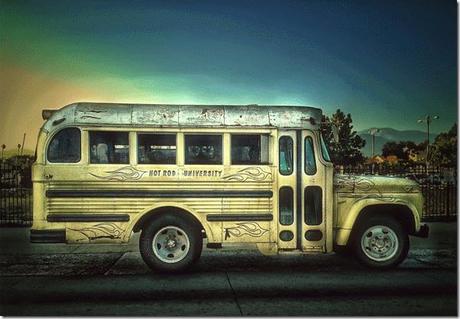
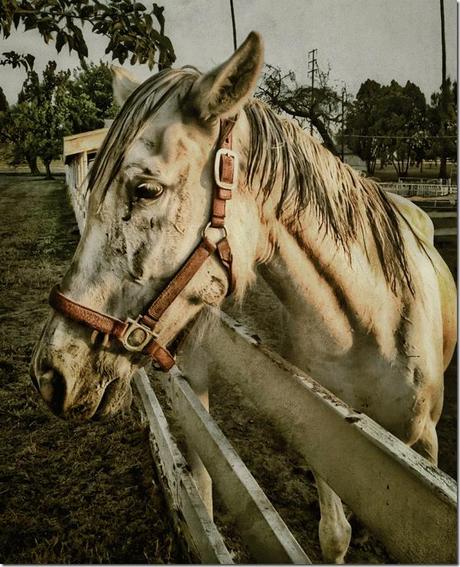
The images below were processed using similar steps
