I'm so glad I did this today! I love craft projects.
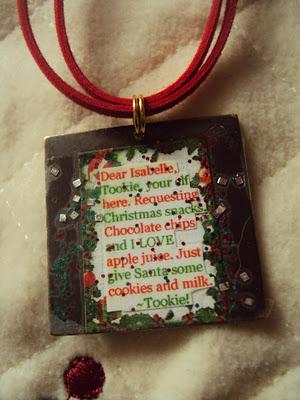
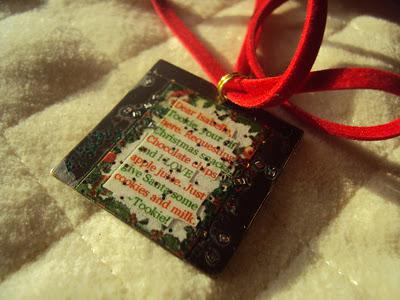
At first, I wasn't sure what paper I would write it on. I went on Google images and searched for Christmas paper, but there were none that were cute enough. Then I got the idea to design my own! I'm a photo-shop 'GUROO', and it turned out so much cuter! I had to size it down pretty little though, since it is from an elf, and so I could put it as a pendant on a necklace.
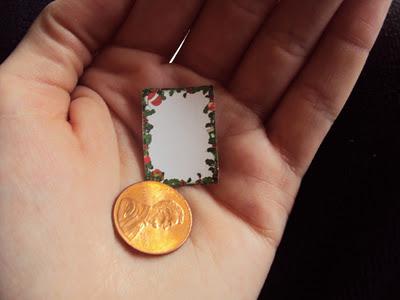 Yes, so I designed it. I kind of want to do that with other patters, and maybe have a mini stationary shop on Etsy!
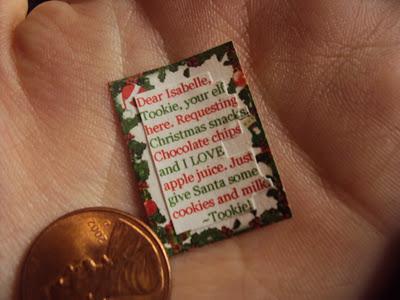
 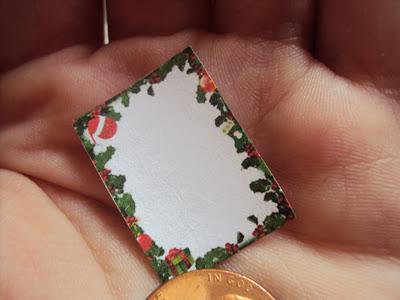 This paper in my hand, up above, is actually the third size try... or the fifth. I bought these metal frame type things at Craft Warehouse, and the size of the first try was just so big, so I reprinted a different size, and that was still a bit big, and then I went a couple sizes down, and it turned out perfect! I put the penny there so that you can see how small the stationary is! For the text part... I wasn't sure what I was going to do for that. Maybe writing it out... well I tried that with scrap booking pens, with a really delicate tip. With such a tiny space, it was smudgy and I didn't know what to say in an 'elf' letter. I had to Google ideas, but then I found the perfect elf letter theme! SNACKS! So, here are my rough drafts....
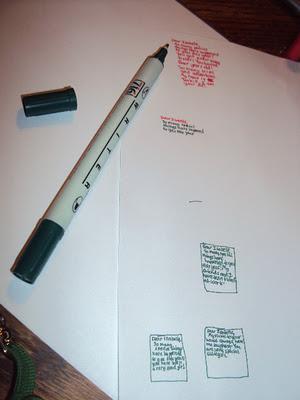 I can write pretty tiny... but obviously not tiny enough. This definitely wasn't going to work. I had thought of typing it, but I also thought writing it would seem so much cooler, like the elf ACTUALLY wrote it! But it wasn't going to work, so I typed it and set it to size '5' font.
 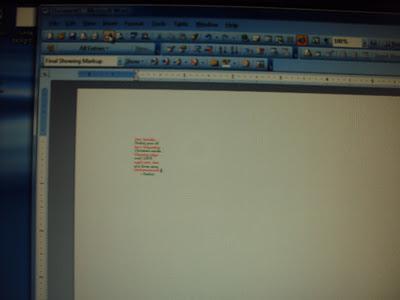 Sorry that this picture is a bit blurry, but it's just to show that I used the WORD document and part of the crafting process. Size '5' font wasn't even listed, so I had to type it in myself. I did that for a history project for school, but I used a size '7' font then. I printed it, cut it out, and fit it to the letter before gluing, just to make sure it fits all perfectly!
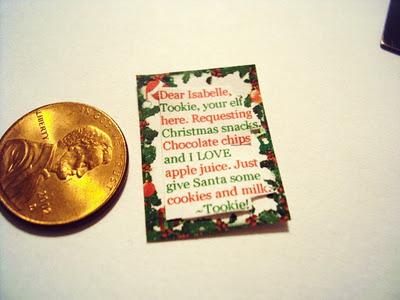
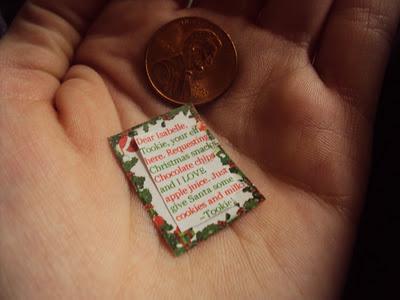
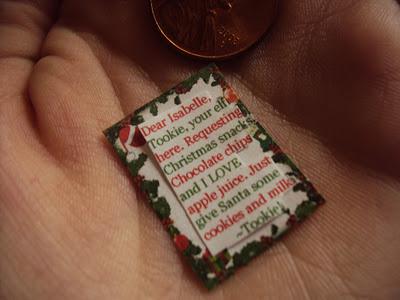 I just LOVE how tiny they are. SUPER CUTE! Minis are my favorites! Anything that is mini, almost anything that is mini, is super cute!After I got it all positioned and what not, I glued it down to the stationary using a GLUE STICK!
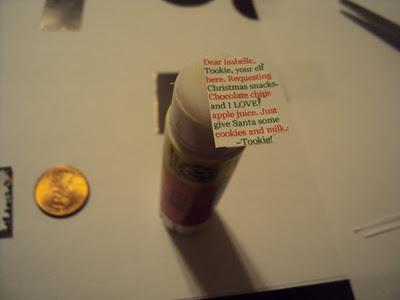
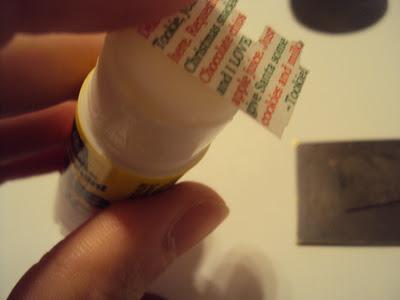 And then gently positioned it again, and glued it on! It was hard to cut out though, making sure not to cut off any much needed letters of the letter.
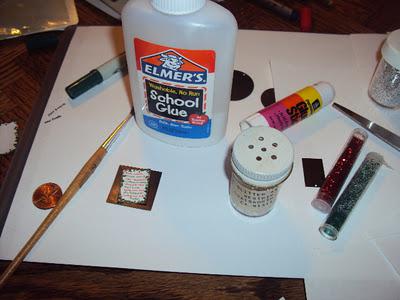
 Now it was time to put it on the little metal frame. My tacky glue dried up, like a while ago, so I just used Elmer's school glue and a paint brush to tack it onto the little metal frame. I squeezed a little bit of the glue, just a drop onto the paint brush, then pained the back of the letter, stuck it on the frame, and VIOLA!
  Once it was tacked on, I used the paint brush again, with just a little dab of glue and painted the edges of the metal frame with a little glue. This was to make a base for the glitter to 'rest' or stick to. I also painted over the letter with a little bit of glue, so it had some extra hold.I sprinkled green, red and silver glitter on the frame and letter.
 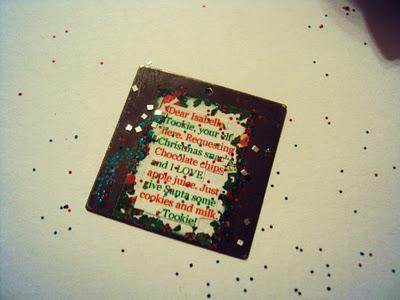 This is where my 'crisis' occurred. I was about to ready to put on the little plastic coverings, but when I grabbed for what I thought to be.... it wasn't. They turned out to be rectangle glass pieces. I was very upset.
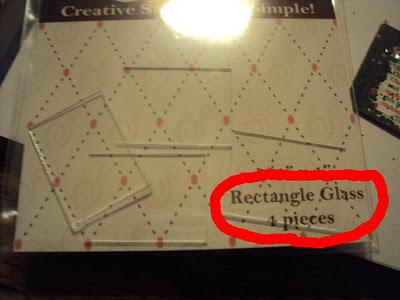 I thought of kind of laminating over it with tape, but we had 'cloudy' tape, not clear. I didn't know what I was going to do. So I searched through our craft bins and finally came upon PACKAGING TAPE! I was so relieved. It's clear, and it's perfect! I cut a piece of packaging tape, placed it over the pendant, and cut the sides off, and folded some over the sides so it would stay. :)
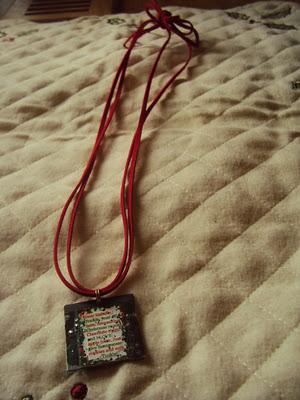
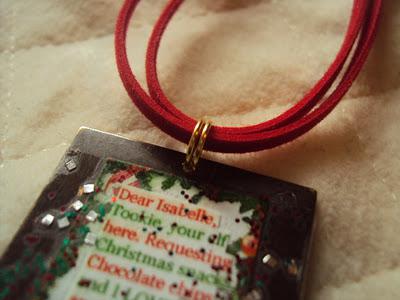
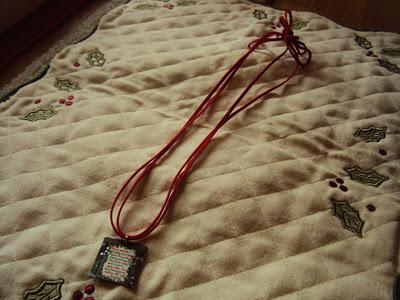
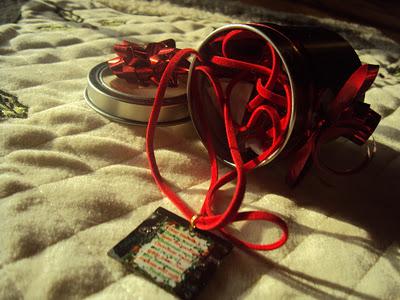
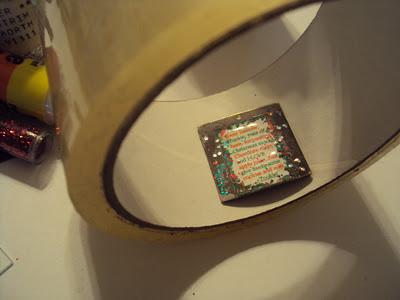 AND it turned out awesome! Now to put the coils on it and loop it onto the necklace part. Also at Craft Warehouse, I bought these coils that are like mini key chains so that I could easily loop it through the necklace, like string it on the necklace part. If you see the hole in the metal frame up above, or any other picture in this post, you see how small the hole is right? No way it could fit through the string I got for the necklace, so these little coils were and are perfect!
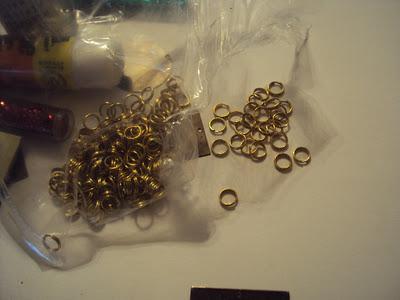
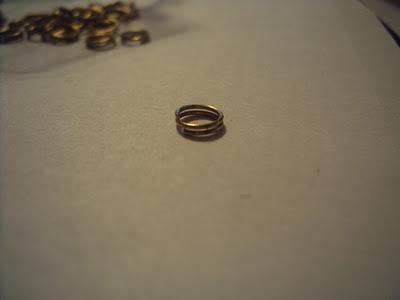 Took me a little while to coil it through the little hole in the metal frame, but I got it through!
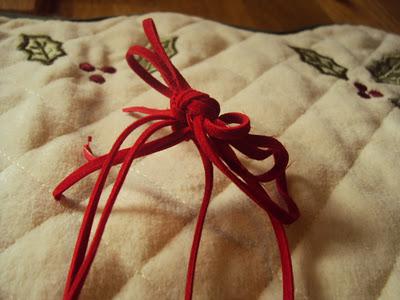
 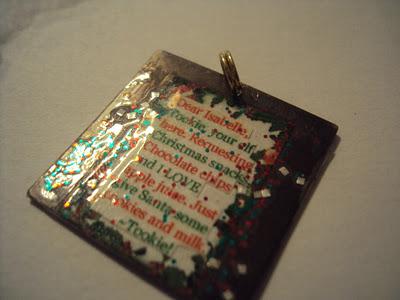 Then I beaded it onto the string, and tied it all up.
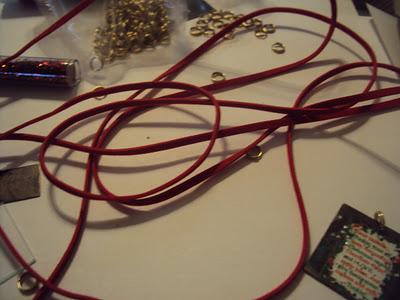
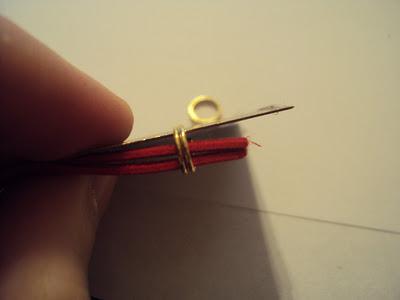
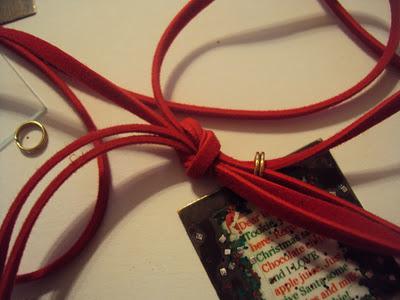 Now the necklace is all done! Proud of myself, very much!
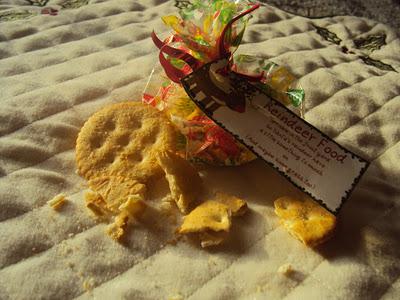
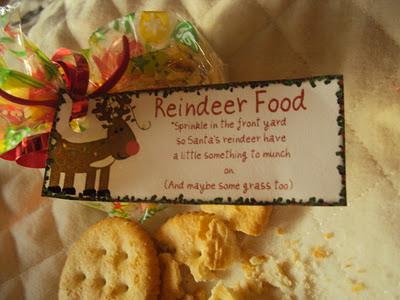
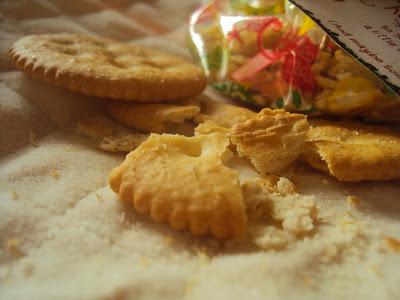
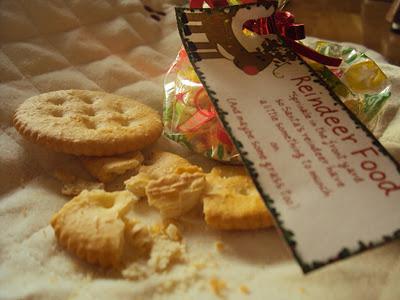
 On to the next project! I wanted to do something else for Isabelle, on the terms of like elves and Santa and reindeer. REINDEER FOOD! How cute is that. On a site I found that offers 'elf advice' for elf activities, I saw a cute little project that includes the reindeer! It's adorable! I got some Ritz crackers, put them in a Christmas-y bag, and crushed them up a little bit for Reindeer food!I designed the label myself, just like the stationary for the elf letter. I love designing paper and stationary! It's fun and super easy and so many choices!
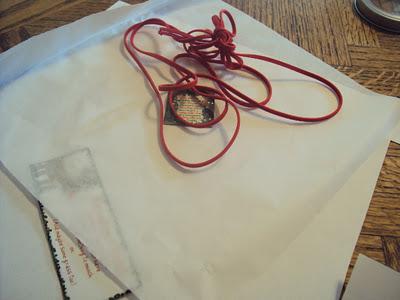
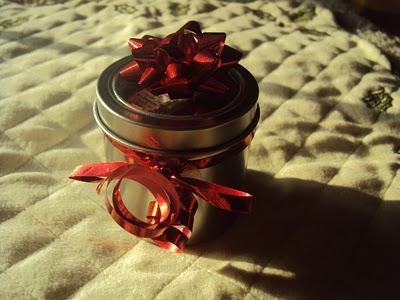
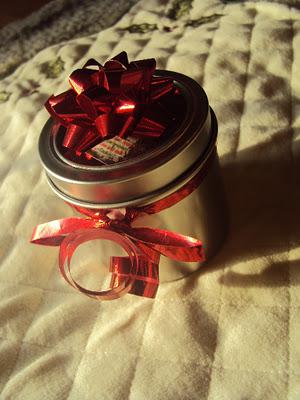
 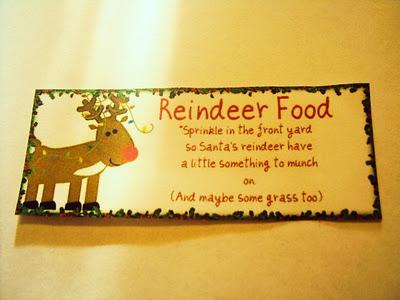 I can't get out over how cute it is. I'm not trying to gloat... but this is kinda the first time I have ever designed my own labels or anything.For the final product! I put some tissue paper in a little tin I had that I was going to use for the necklace. So I stuffed the tissue paper at the bottom of the tin, and put the necklace in the tin, atop the tissue paper.
 So on the tin, I put a little, tiny bow on the tin lid and tied ribbon around the body of the tin, close to the lid.I'm really excited with how it all turned out!
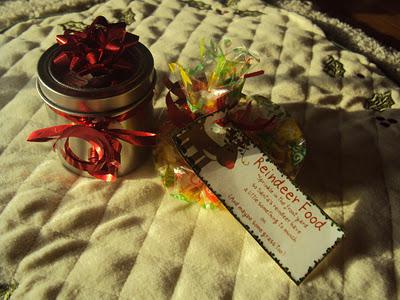 I love that label! Those Christmas bags were a lucky find :)
 Little reindeer food!
 Very excited to give this little gift to her! It was fun to make!

