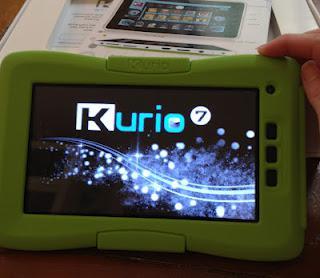
To power on the Kurio you hold the on/off button down for five seconds after which the screen below appears.
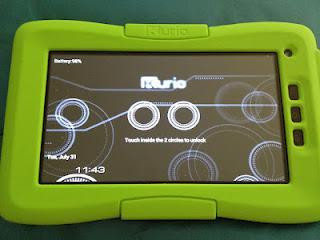
Next you are prompted to touch inside the two circles to unlock it.
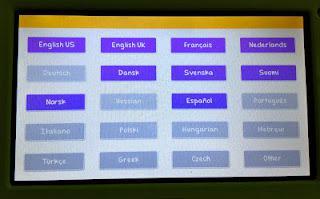
Select your language, the default is English UK.
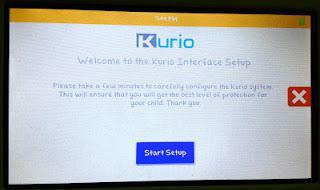
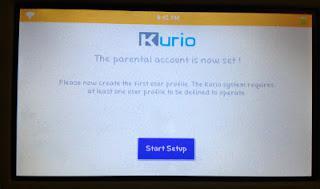
You are now ready to set up the Kurio interface. Click Start Setup to begin.
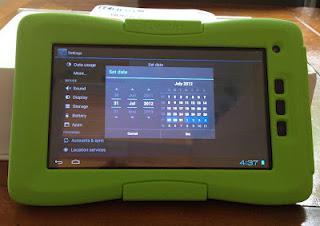
Set the date and time using the up and down arrows to scroll through the dates and times.
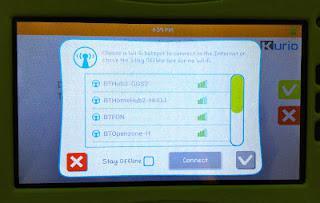
Now you are ready to connect your Kurio to the Wi-Fi. Select your Wi-Fi from the list and click connect or alternatively select Stay Offline. One thing to note is that if your SSID is hidden and therefore does not appear in the list, you will need to un-hide it to connect to the Wi-fi as there is no option to set it up manually.
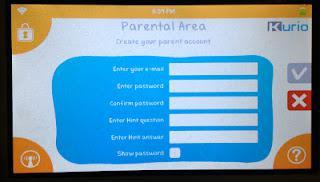
Next set up the Parental Account by entering email, password and security question.
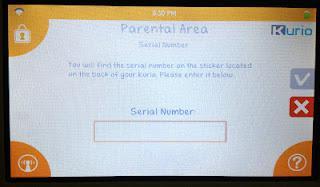
Finally enter your serial number which can be found on the back of your Kurio.
 .
.And there you have it, in a few quick and easy steps your parental account is set up ready for you to add user accounts which I will cover in my post tomorrow.
*Disclaimer: I received a Kurio free of charge but this has in no way biased my opinion.

