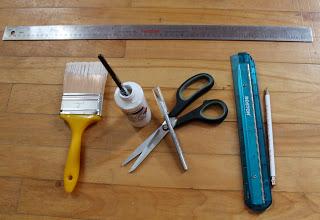
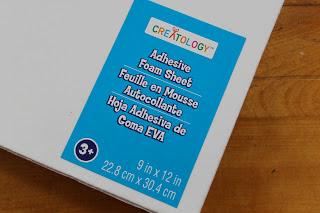
 Here is what I used:
Adhesive foam sheet - Michael's
Paint Brush (small and large)
Ruler
Paint (I chose white) - Dollar Store
Scissors
Painting of your choice - Value Village
Steps:
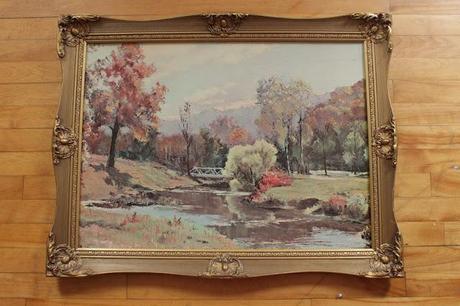
1) Pick a painting. For mine, I went to Value Village and chose one of the most colorful landscape pictures I could find. This is good because you know that later for the finished product the letters and words are going to stand out and add a nice contrast to the color your going to be adding. You also want to look for a picture or painting that you don't really care for. This is because in the later steps your going to be painting over it with your own design, so whatever is in the background won't really matter. This is the one that I chose:
(I got lucky because I found both a cool frame and a colorful background)
2) Pick the phrase you would like to use and cut the foam to the desired letter and words. This is where I found the advantage to using the adhesive foam rather then the pre-made letter stickers because this way you can cut them to whatever shape and size you want. With other stickers you may find that they are too small or too big, but here you are in complete creative control. The phrase that I picked was, "Born to Die". I chose this because it's the title of the latest Lana Del Rey Album that my roommates and I have recently become obsessed with, and also because it's such a thought provoking sentence that I can't seem to get it out of my head. So, what better way to show my interest for it then to plaster it onto the biggest piece of artwork in my living room?
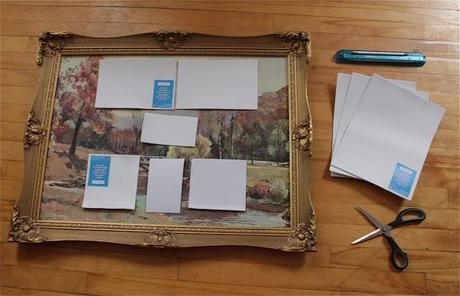
3) Peel off the back and stick. Make sure you place them exactly where you want them because this is where the letters are going to stay. To make sure that everything was straight and I will have piece of mind, I measured out the center of the frame and made sure everything was aligned right. I would highly recommend doing this as well because if your anything like me, the slightest offset will totally ruin the final project. So, to avoid being displeased with what you come out with, just take the time to make sure everything is in it's rightful place. Once you've done this all that's left to do is paint! I used my large brush to paint over the whole middle and the small brush to get the corners.
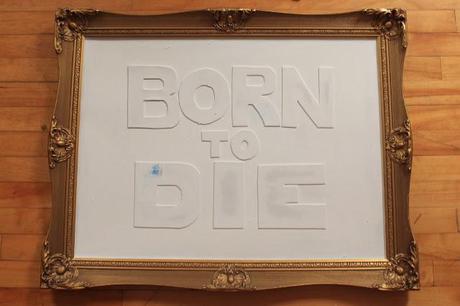
4) Peel away! Now for the fun part. Once the wait for the never ending paint to dry is over, slowly start to peel back the corners. If everything has worked out the way it should there will be a nice clean line where the foam used to be and where the paint starts. You'll also want to peel the letters off slowly because you don't want to rip off or damage the background picture you've been trying so hard to preserve. When it is all done you will have a brand new masterpiece for you and your friends to enjoy.
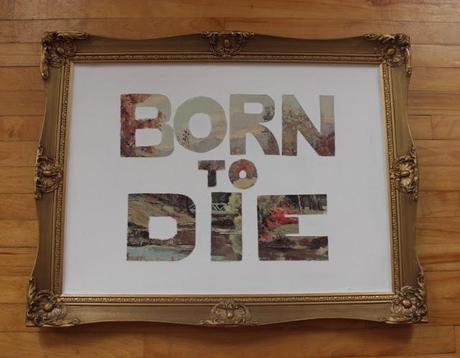
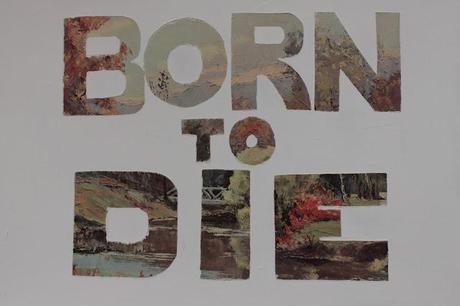
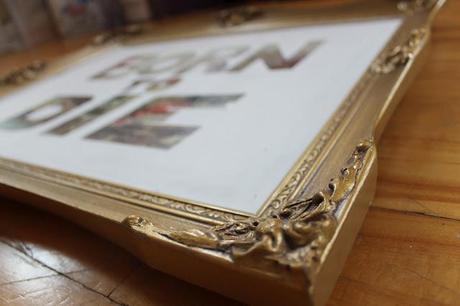
And that is it my friends, a simple solution to a rainy day problem.
This is the original blog from which I found the idea. Have a look!
http://abeautifulmess.typepad.com/my_weblog/2011/08/song-lyric-wall-art-diy-project.html
X Sarah

