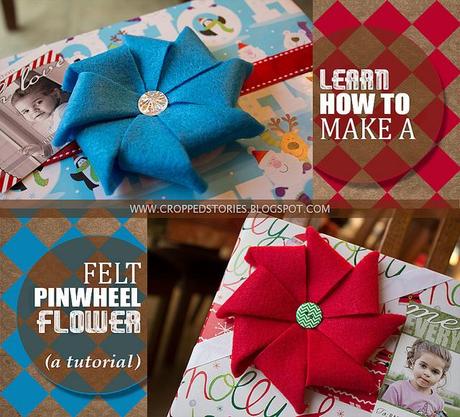
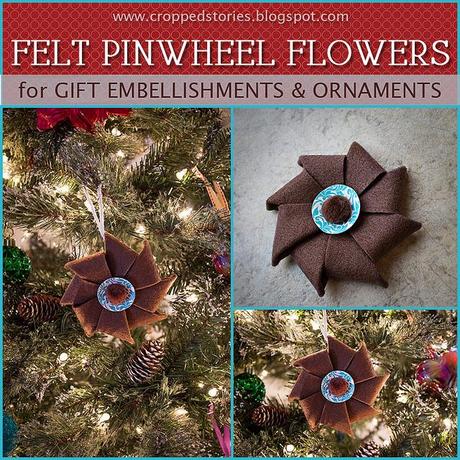
If you guys remember my free customizable photo gift tags post, I made a promise that a felt pinwheel flower tutorial would follow. These pinwheel flowers not only make fabulous gift embellishments, but ornaments as well! They are easy to make and fun to decorate. The supplies needed are few, and the end result is one you and the family are sure to love! So, let me get right to it then.

Supplies needed:
- a sheet of felt (at least 8 1/2 x 11 in.)
- scissors
- pen
- dinner plate or bowl
- small plastic cup
- pom pom balls for this tutorial (alternatives: buttons, rhinestones, etc. like the ones above)
- decorative paper (preferably of medium weight)
- yarn
- glue gun and sticks
FELT PINWHEEL FLOWER TUTORIAL


Steps 1 and 2:
With a sheet of felt in front of you (your choice of color), place a dinner plate or bowl on it to trace a circle with your pen. I used a bowl that was 8 1/2 inches in diameter. This makes a 5 inch pinwheel flower.
Steps 3 and 4:
Cut out the circle. Fold the circle in half one way, then the other. Use some force so it makes a crease in the felt you can easily see to use as a guide to cut a straight line.
Steps 5 and 6:
Cut all 4 sides leaving between a 1/2 to 1/4 inch of uncut felt in the middle. Now you can use your pen to mark the center of the circle. Next, fold each triangle in half and cut again making sure not to cut all the way into the middle. The circle of felt needs to remain intact. Now you are ready to fold the first individual triangle. The first fold should be folded from the outer edge towards the left cut.
Step 7:
Take the fold you just made and fold it in towards the center where you marked it with the pen. This is where you will glue the first petal of your pinwheel.
Steps 8 and 9:
When you’ve glued your first petal, it will look like the image in my example above. Repeat the same folds to all the individual triangles (there are 8 of them). Refer to my example to see half of the pinwheel flower complete.
Steps 10 and 11:
Once all 8 triangles (petals) have been folded and glued, you are almost done. Now let’s add a pretty center, shall we?! Using a piece of decorative paper (I used a medium weight paper), cut a 1 3/4 inch circle out using the bottom of a 6 oz. plastic cup or something of equivalent size. Next, cut halfway into the circle.
Steps 12 and 13:
Overlap one side with the other and glue. It will create a 3 dimensional cone.
Using glue, press gently onto the center of your felt pinwheel flower (trying not to crush the shape of the cone). Once the cone is in place, put some glue on a colored pom pom ball, and press into the center of your paper cone. If you will be using it as a gift embellishment, consider yourself done! I recommend using glue to attach to your gift wrap.
Want to make an ornament? Just tie a piece of yarn in a circle using a knot, and attach to the inside of one of the petals so you don’t see the knot. That’s it! It’s that simple!
If you have any questions, don’t hesitate to drop me a comment. I’m always happy to hear from you!
If you missed my previous post, The PINcentive Blog Hop: Week 14, don’t forget to link up! Who knows; you could be our next winner, and have your post featured, pinned a minimum of 31 times, and the opportunity to co-host our next hop! Don’t miss out!
Also, stay tuned this week for another yummy recipe and a contributor post by Jen at Drinking the Whole Bottle!
Technorati Tags: crafts,diy,christmas ornament,gift embellishment,felt pinwheel flower,tutorial,how to,holiday crafting
