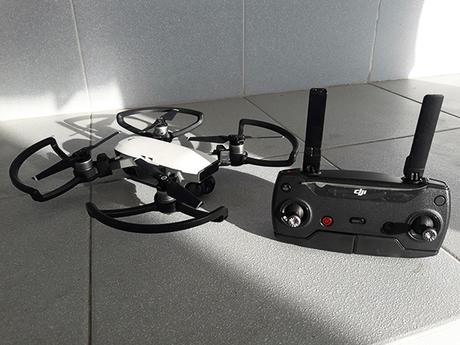
DJI Spark drone with controller
THE SET (prepare the items needed)
For this tutorial, let's identify first what are the things we need to basically fly a drone.
And they are the following:
1. the drone unit (its guards are highly recommended)2. the controller3. some batteries and its charger4. a mobile phone that can download apps5. the necessary cables for charging (not in the photo but I will tackle later on below)
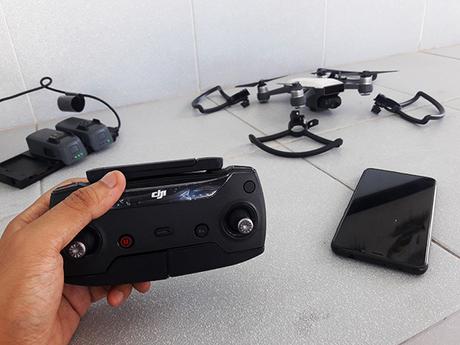
drone set
From this photo below.. as you can see THE DRONE unit and its guards..
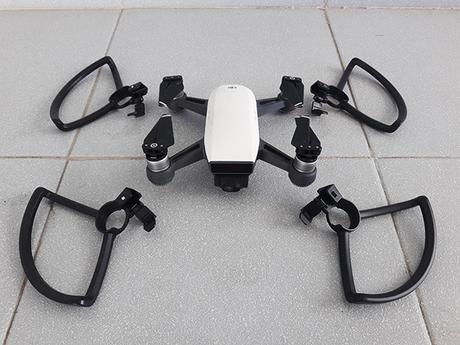
drone unit guards unattached
PREP 1A - Unfold the propellers (not a necessity but it pays to be safe not forcing its abrupt reaction when turned on).
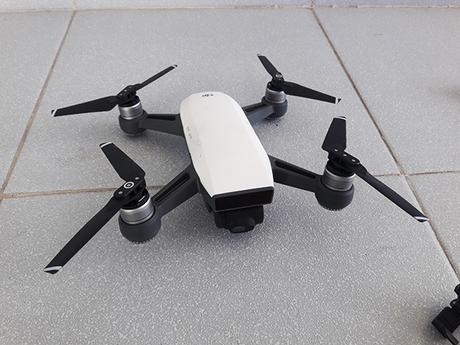
propellers unfolded
PREP 1B - Equip its guards (specific guards are specially designed per corner/propeller so make sure to equip them with care. If it does not fit, find the correct place for it).
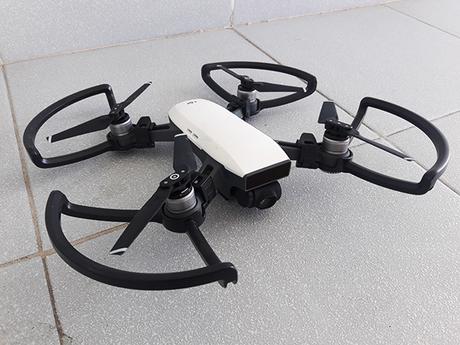
guards attached
THE BATTERIES
Usually, there are two (2) units at the least when bought because a single battery can only power the drone for a few minutes. So make sure to charge them regularly (the green light indicator should help you regarding its charge).
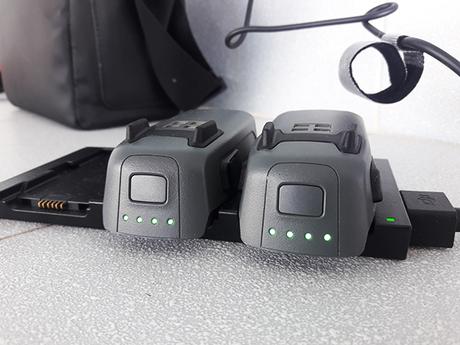
drone batteries
PREP 2 - Attach the battery to the drone
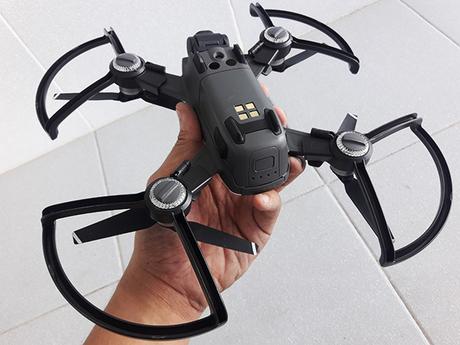
drone battery attached
THE REMOTE CONTROLLER
This is how it basically looks like when you are not using it.
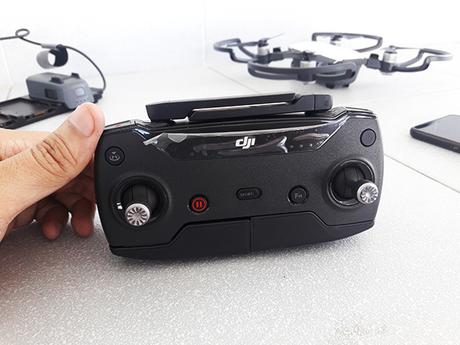
remote controller of the drone
PREP 3 - Now, to use it, flip its antennas up & open its lower grip (optional if you want your mobile phone to be there).
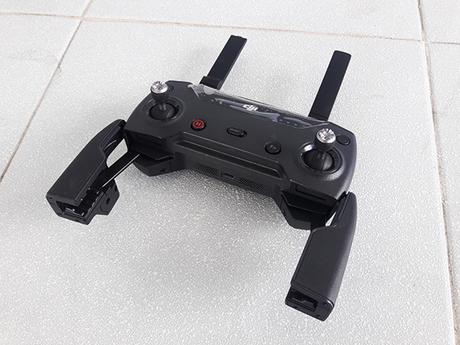
remote form 2.0 (lol)
NOTE: The controller has a separate power so make sure to charge it as well. This is where the cables for charging (no.5 in THE SET above) is needed. Different models require different kinds of cable so just buy the one that fits. The socket is found at the bottom of the remote when you open its lower grip.
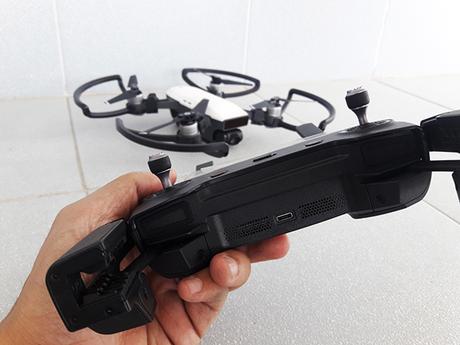
remote charging socket
THE MOBILE PHONE
Requirement: You need to download a specific mobile application compatible with your drone so you can connect and use all (drone, controller, & mobile phone) of the gadgets properly. For this tutorial, DJI GO 4 is installed.
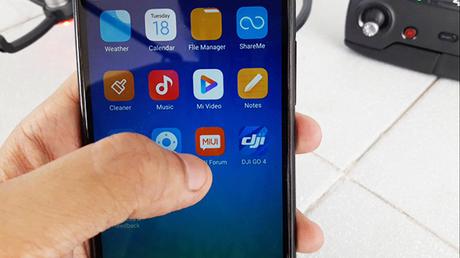
install a drone app
Now that we are all set and prepared, let's start flying the drone.
SET 1 - Turn on the remote control by pressing its power button twice (1 short press and another long press, that is how you turn it off as well).
SET 2 - Turn on the wifi connection of your mobile phone and connect it to the remote control.
SET 3 - Turn on your drone unit by pressing its battery twice (1 short press and another long press, that is how you turn it off as well just like the remote control).
SET 4 - Use your downloaded mobile drone application and register everything (especially if its the first time). It should let you see from the perspective of the drone. Well, you can actually customize a lot of things from this point but the most important thing you have to do here first is to mark your "home" area where your drone will land once its power goes low.
TAKE-OFF
In taking-off, you are 3 options.
Option 1. Pulling diagonally inwards both the right and the left joysticks of the controller at the same time, hold on at that for a bit then when you hear the "take-off" sound, push the left joystick upwards.
Option 2. Pulling diagonally outwards both the right and the left joysticks of the controller at the same time, hold on at that for a bit then when you hear the "take-off" sound, push the left joystick upwards.
Option 3. Press the take-off button on your mobile phone screen (while using the drone app). You can see this in the provided video below.
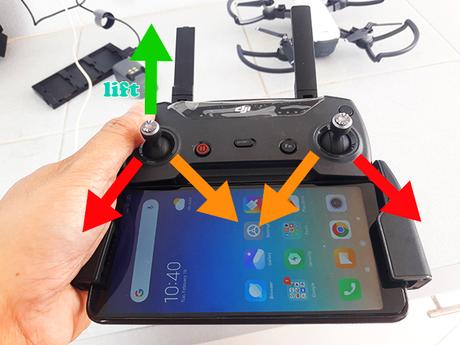
take-off options
Now that the drone should be flying right now, let's tackle the basic controls of the remote control. I won't include the not-so-basic buttons in the controller.. we can tackle them maybe on the "more advanced" video next time. Let's focus on the simple stuff first. So as follows, here is a simple infographic guide of the drone's movement control:
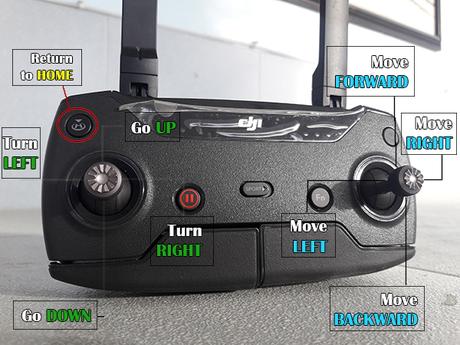
controller's basic movements
For simpler description, angle and height for the left joystick then directional movements for the right joystick. But to be honest, its harder than it looks, really! It takes a lot of practice to master this.
And remember, these controls are appropriate when you and the drone are facing the same direction.. So most of the time, you will be controlling the directional movements inversely if you want to do some group selfies.
I made an actual video for this tutorial so I hope this will make some of the details clearer. I am looking forward to making another tutorial of this for the more advanced controls like the "active track" and more so we'll see. For now, I hope I helped you in any way. Here's the vid.
If you cannot see the video above, click HERE for it


