Do you guys have it in your to listen to one more wedding craft? I hope so because this is one of my favorites. I love when weddings incorporate personal details–the bride’s mom’s old pearl necklace, the bride’s grandmother’s handkerchief, old family wedding photos. They are the kinds of details that make you feel right at home.
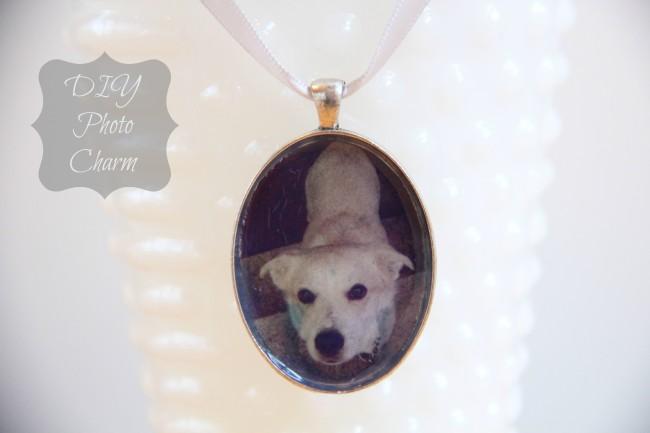
One of the gifts that I wanted to make my soon-to-be bride friend the most was some photo charms. I remembered how much her grandfather met to her and I knew that she would want a way to have him represented on her special day. So I set out to create three photo charms for her, one for each of her grandfathers and one for her dog, who won’t be able to be at the wedding either.
I know that I say most of my craft projects are pretty easy and this is no exception. It’s the perfect way to honor the ones who will be watching your special day from the big clouds above.
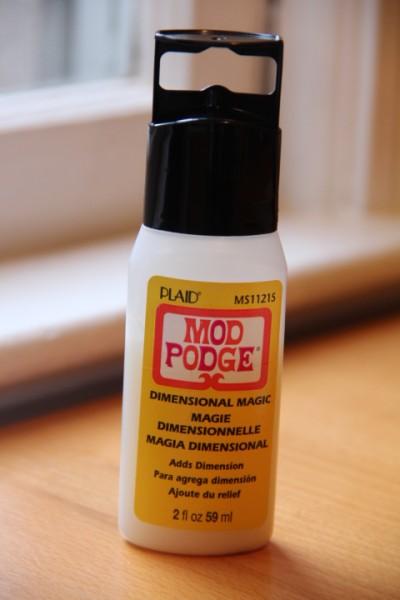
For this craft, you will need basic charms (I purchased mine from this Etsy shop), Dimensional Magic by Mod Podge (pictured above), regular Mod Podge, and the picture you want to place in the charm.
In order to figure out the size of the picture, measure the charm and create the shape in Microsoft Publisher. Then insert the picture into the shape you created and scale the picture to fit. Then, print it on the highest resolution possible on photo paper and cut the shape out.
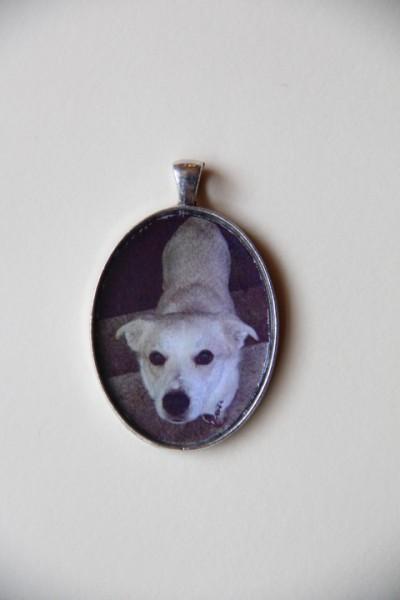
Then, put a thin layer on Mod Podge on the inside of our charm and place the cut out picture on top. Next, use a q tip to smooth down the picture. Let the picture dry according to the directions on the Mod Podge bottle.
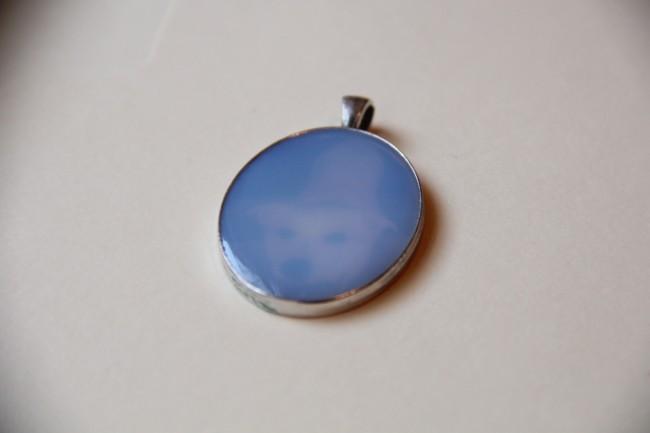
Now that the charm is completely dry, pour the Dimensional Magic on top of the picture until you have filled the charm up. If any bubbles appear, make sure that you pop them, otherwise they will dry into your charm (a safety pin is good for that). Now let the charm dry completely, making sure that you don’t move the charm and that you keep it completely flat.
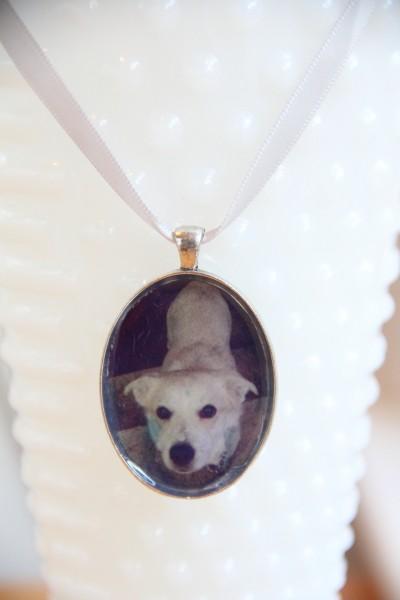
Your photo charm is now ready for your bouquet. Isn’t that the cutest puppy face you’ve ever seen?
