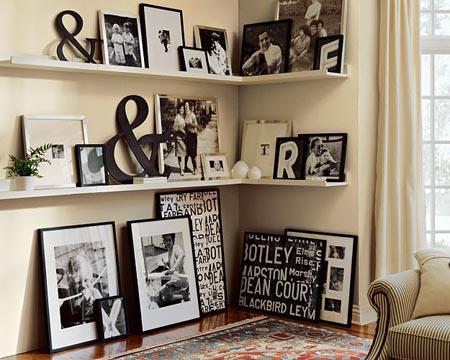
I’ve always loved the idea of a photo gallery.Since the day we moved into our apartment, I’ve been dreaming of covering one of our bare walls with a photo gallery.The only problem was that I didn’t really have that many nice pictures that I wanted to display.
Once our wedding was over, I finally had a huge selection of high quality images that I really wanted to display. After consulting a few design websites, I finally came up with a template for our space.
We would use two 45 inch shelves.The bottom shelf would display a 16 X 24 picture in the middle and two 10 X 10 pictures on either side.The top shelf would have two 10 X10 pictures in the middle, with two 11 X 14 pictures on either side.
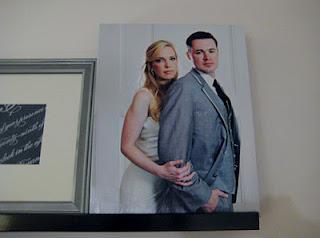
To give the display more depth, I wanted to have some of the pictures in frames and others on canvas.I decided to have 3 of our wedding pictures blown up so that one was a 16 X 24 and two were 11 X 14.
With the designed established, we start the hunt for our supplies.
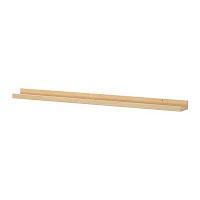
We picked up the shelves at Ikea.We used the RIBBA picture ledge.It was 14.99 for one shelf that was 45 ¼ inches long.
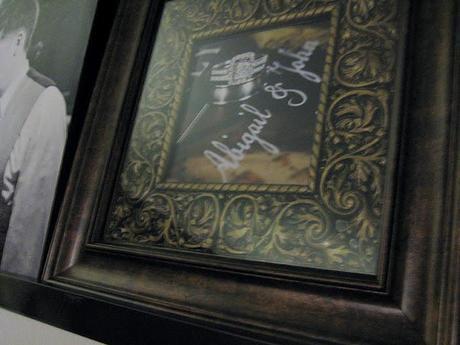
We picked up 3 canvases at Michaels.One 16 X 24 and two 11 X 14.We also picked out four 10 X 10 frames.I opted to use two types so that one shelf would have one set of 10 X 10 frames and the other shelf would have a different set of 10 X 10 frames.
Since some of the items we picked up weren’t in the colors that we wanted, we also picked up some spray paint.
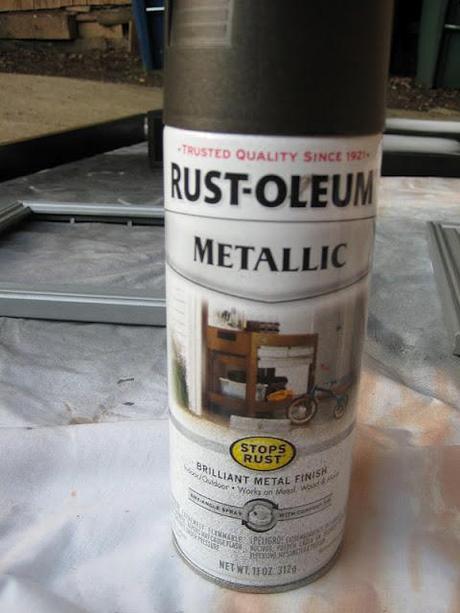
We decided to use an oil rubbed bronze color on the shelves as well as the sides of the canvas.
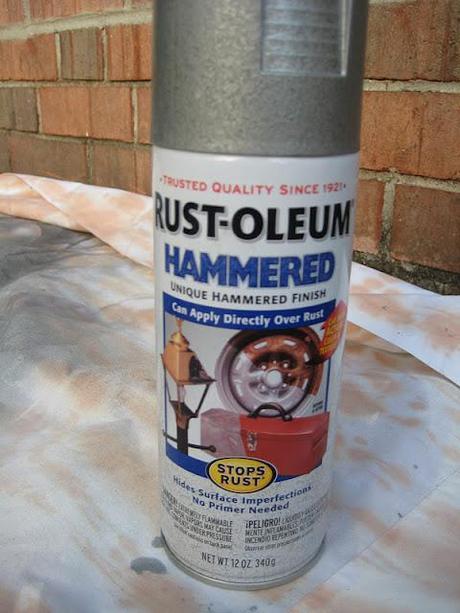
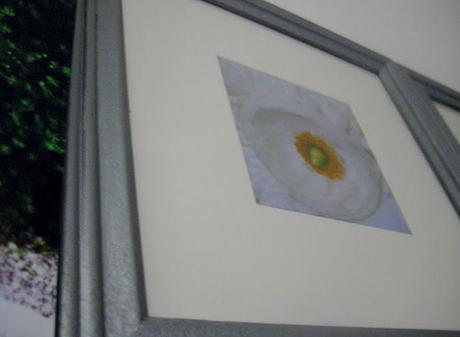
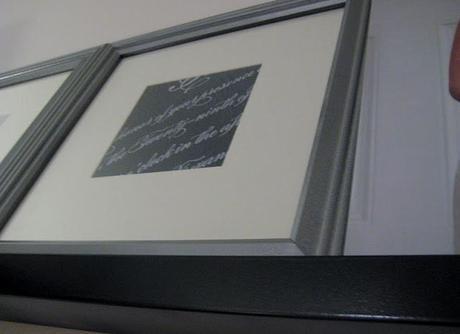
For one set of 10 X 10 frames, we decided to paint them a hammered silver color since their original black didn’t really jive with our look.
Once we got all our supplies, I set up our drop cloth in the side yard and got ready for spray painting.
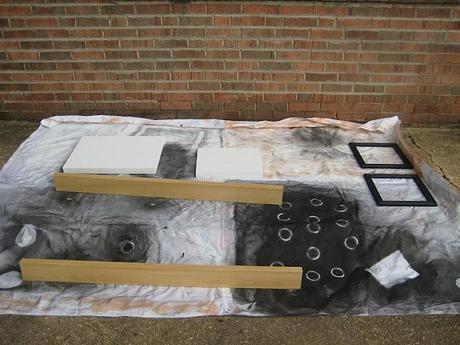
I used 4 thin, even coats for everything.Allowing them to dry for 20 minutes in between coats.
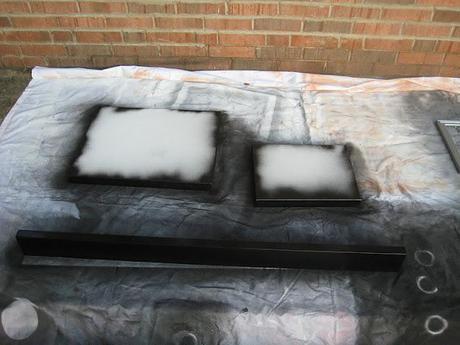
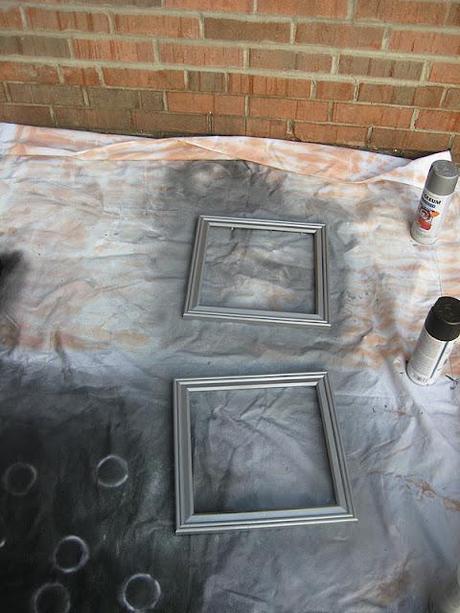
Once I had everything painted, I let them cure for 48 hours.
After my paint had cured, it was time to attach the blown up pictures to our painted canvas.
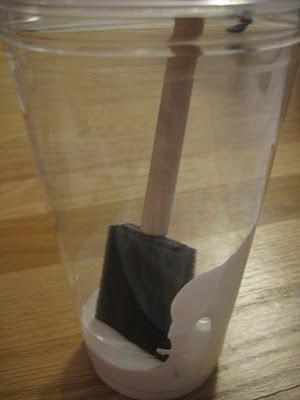
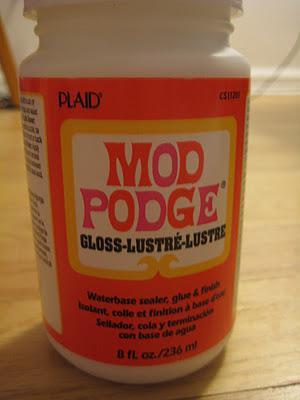
Using some mod podge and a foam brush, I evenly coated the front of the canvas.
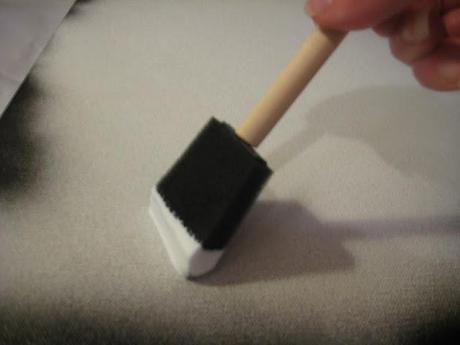
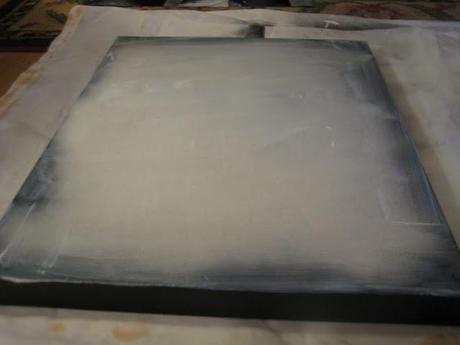
Then I put the picture on top of the mod podge and rubbed it down into place.
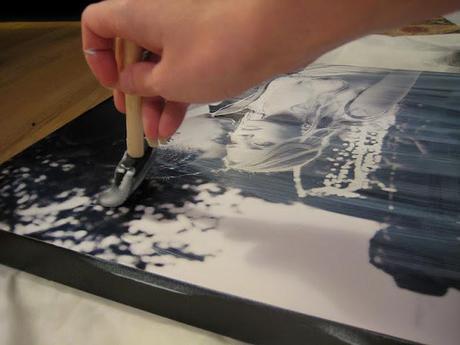
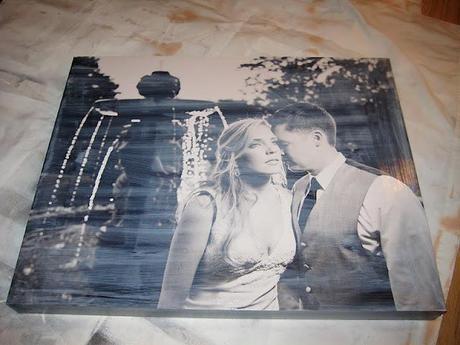
To give the canvas a glossier look, I decided to add an extra coat of mod podge on top of the picture.This not only held it in place better and it also gave the pictures an amazing glow.
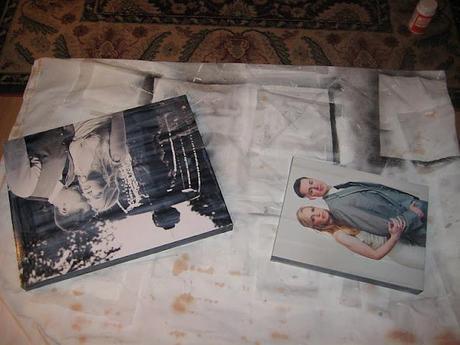
I repeated this process for the other two canvases and let everything cure for 48 hours.
Once all my pieces were ready, we measured the shelf placement and screwed them into the wall.Then it was just a matter of getting all of our pictures in place.
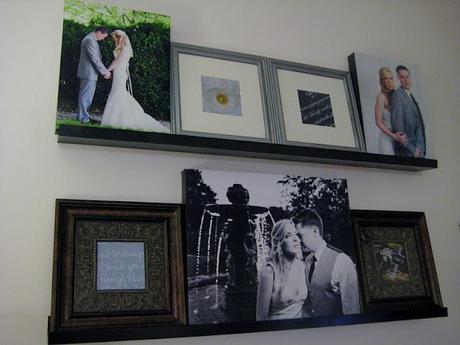
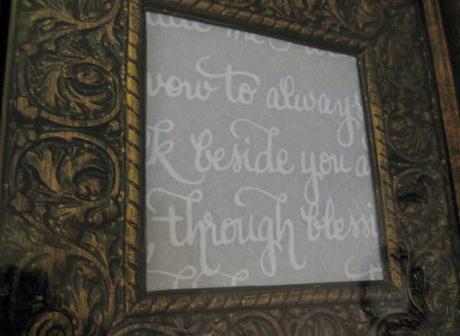
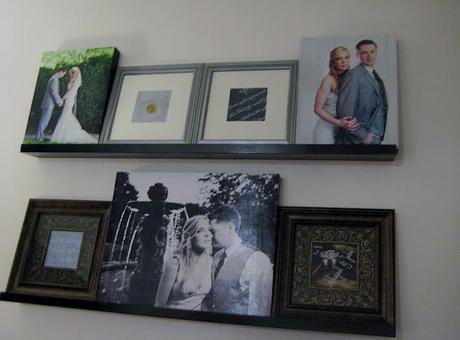
This was an amazing simple project that added tons of interest and depth to our living room.And by doing faux canvas prints, I saved us hundreds of dollars.Just one of those custom canvas pieces could easily set you back $100.
It’s so nice to be greeted by these pictures every time we walk in the door.Definitely a great pick me up after a long hard day at work.
